
Last updated September 20, 2026
Free on-site gate assessment - hinges, posts, and your LiftMaster or Nice gate operator checked before anything is quoted
The assessment is free and the quote is the invoice.

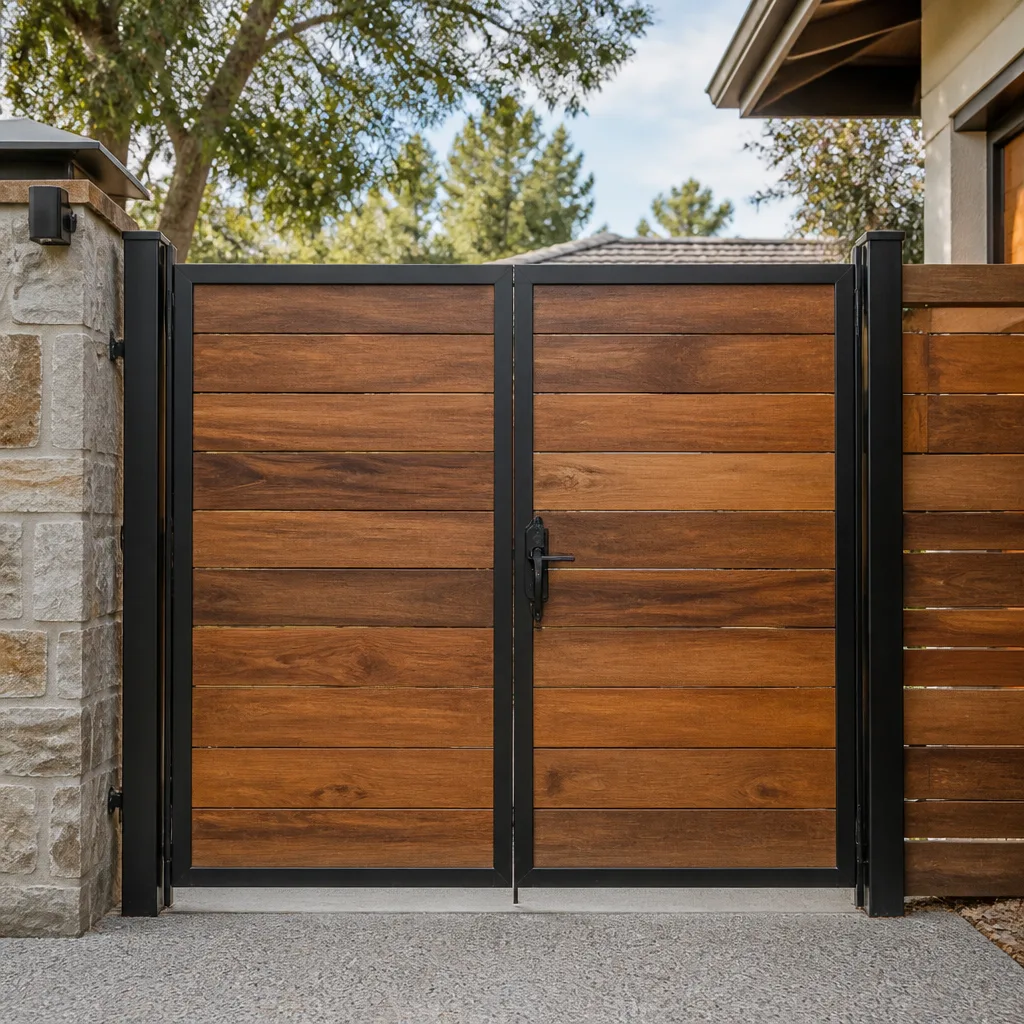
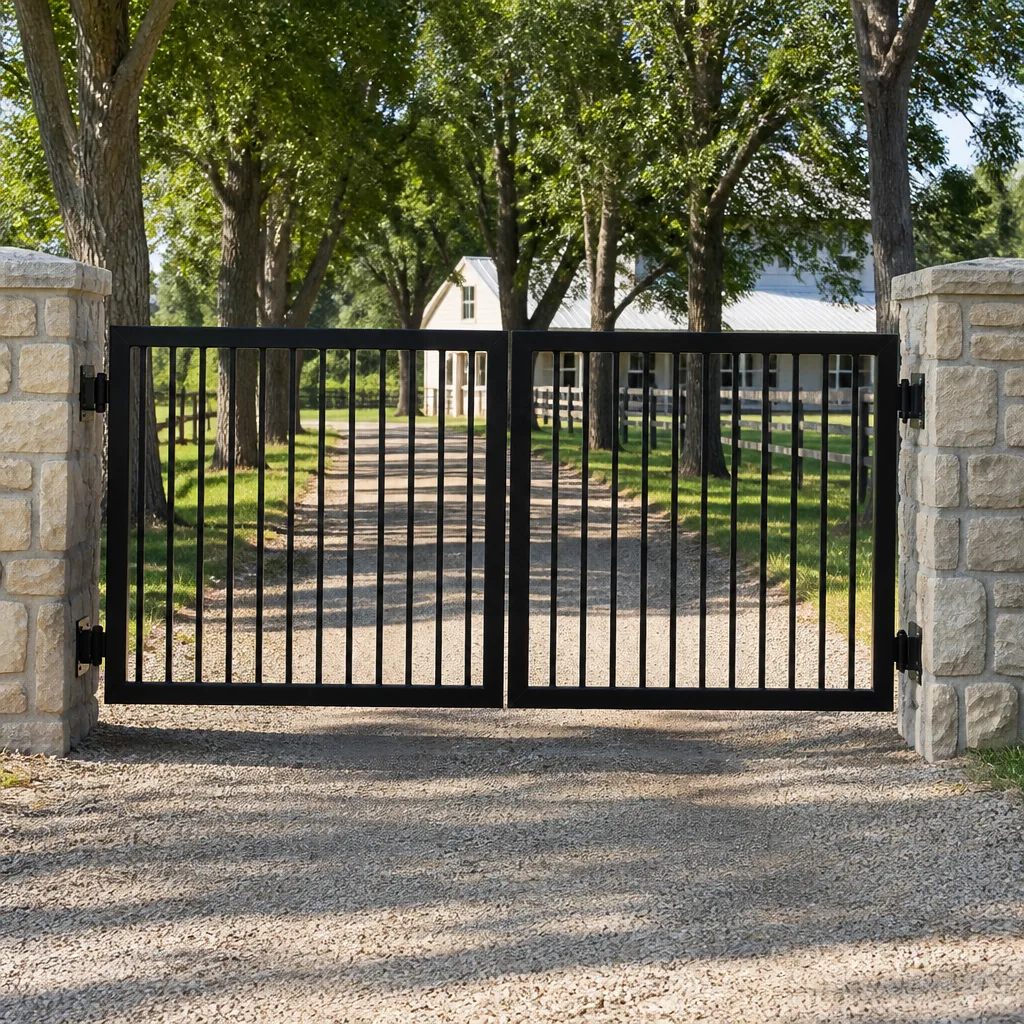
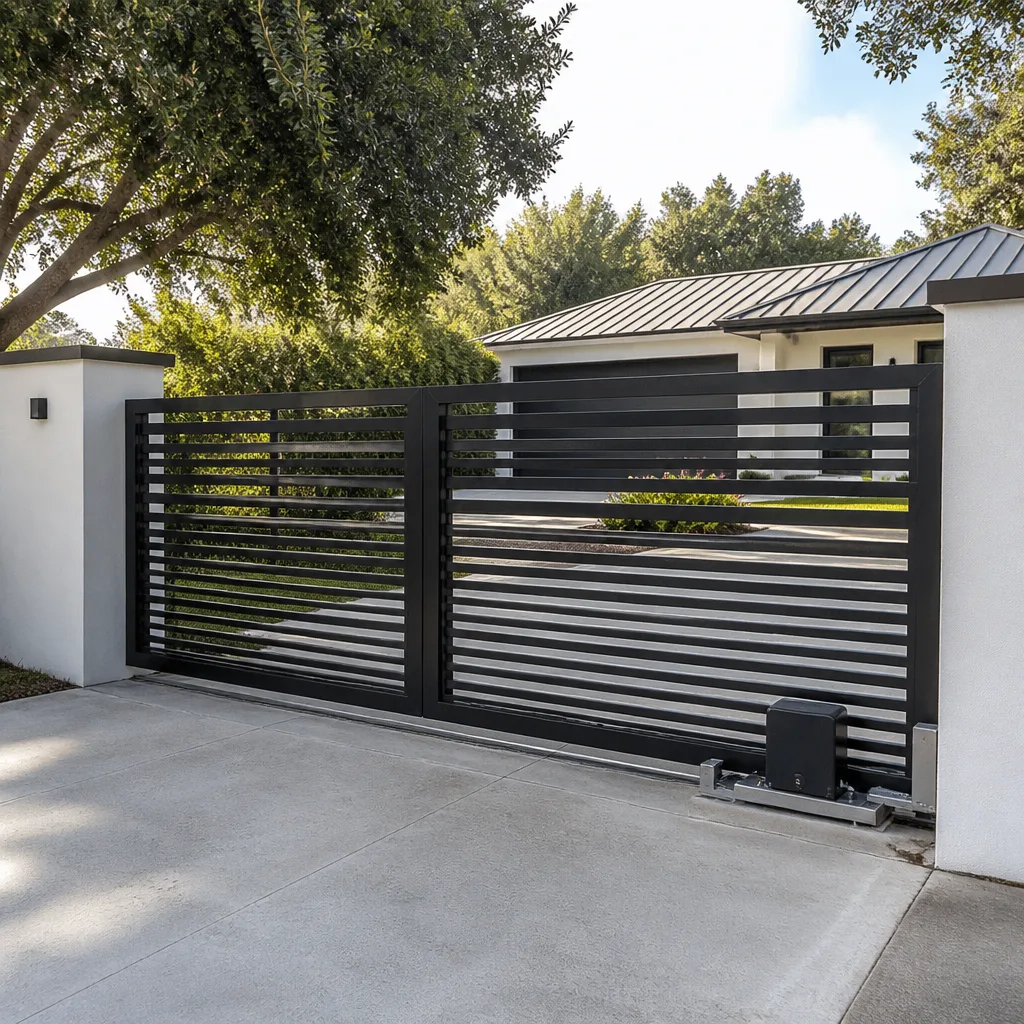
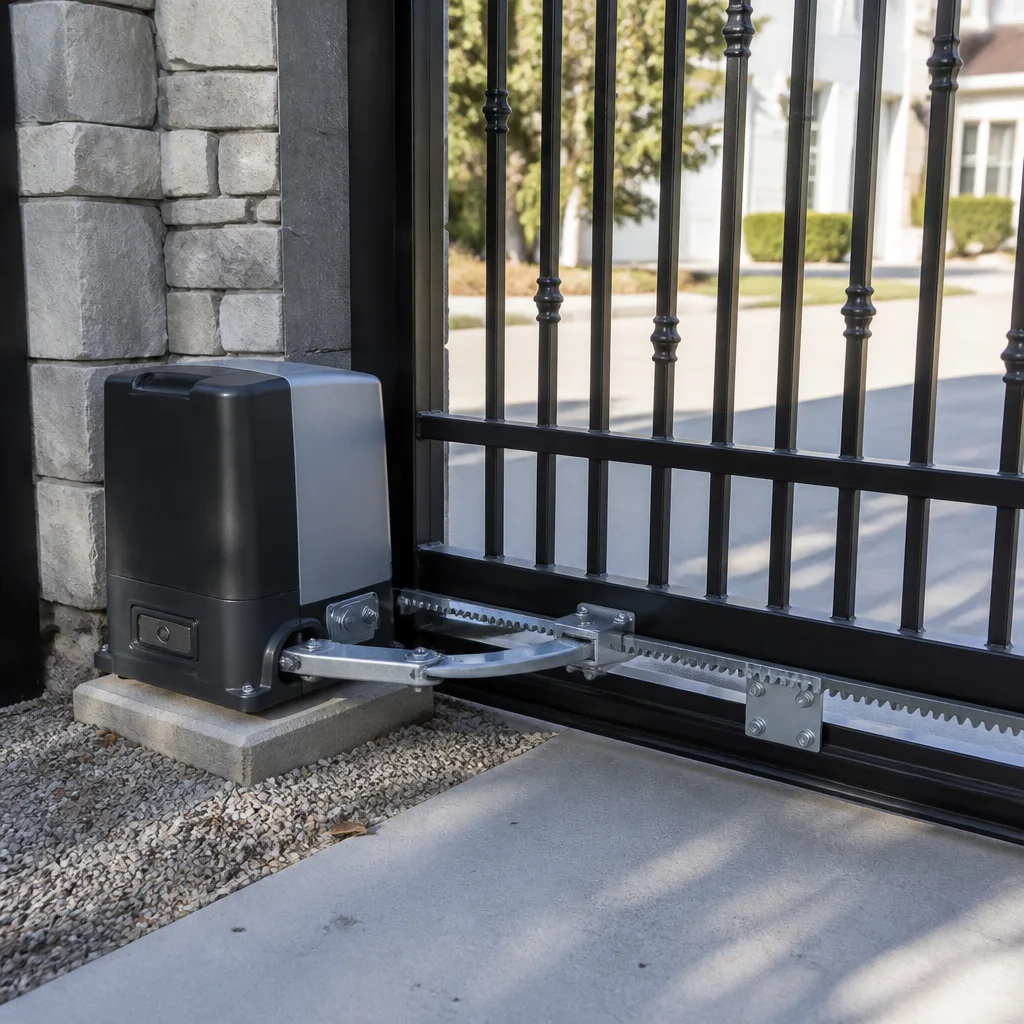
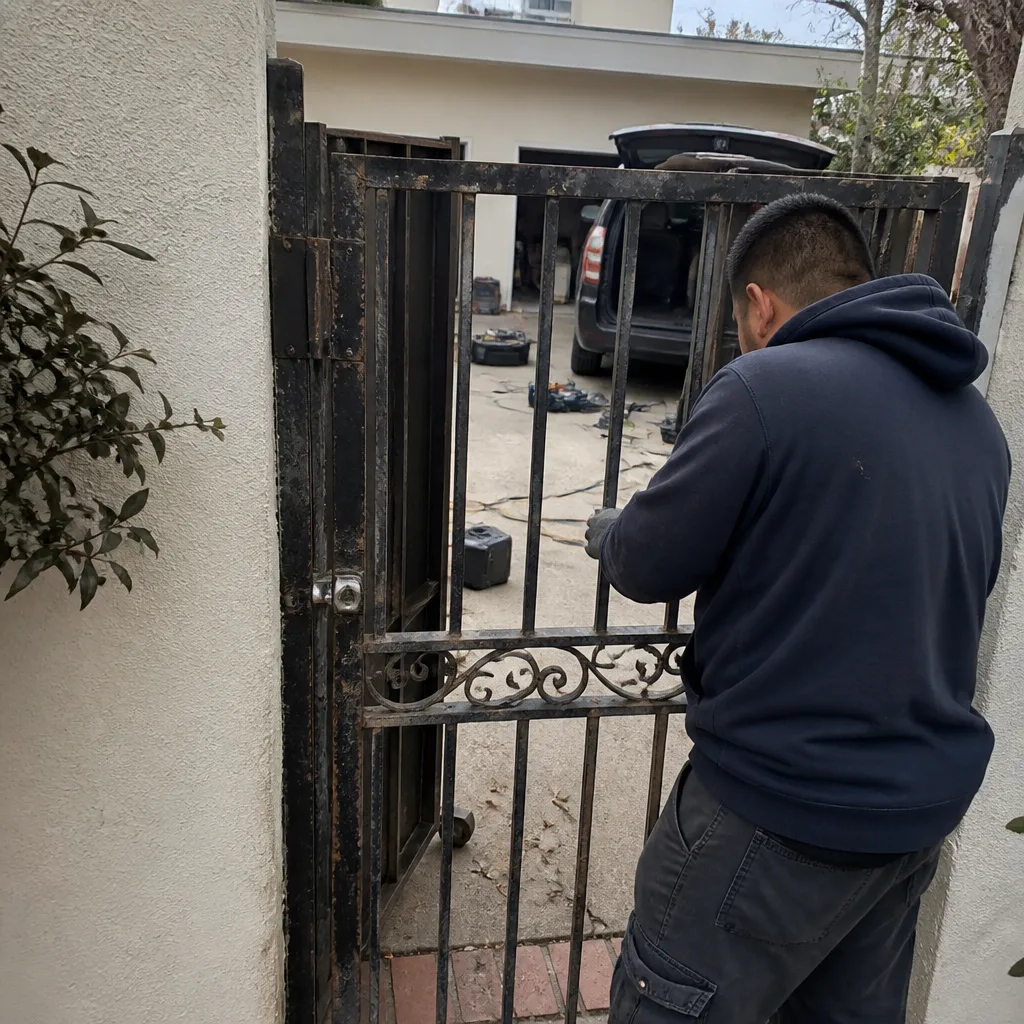 Before
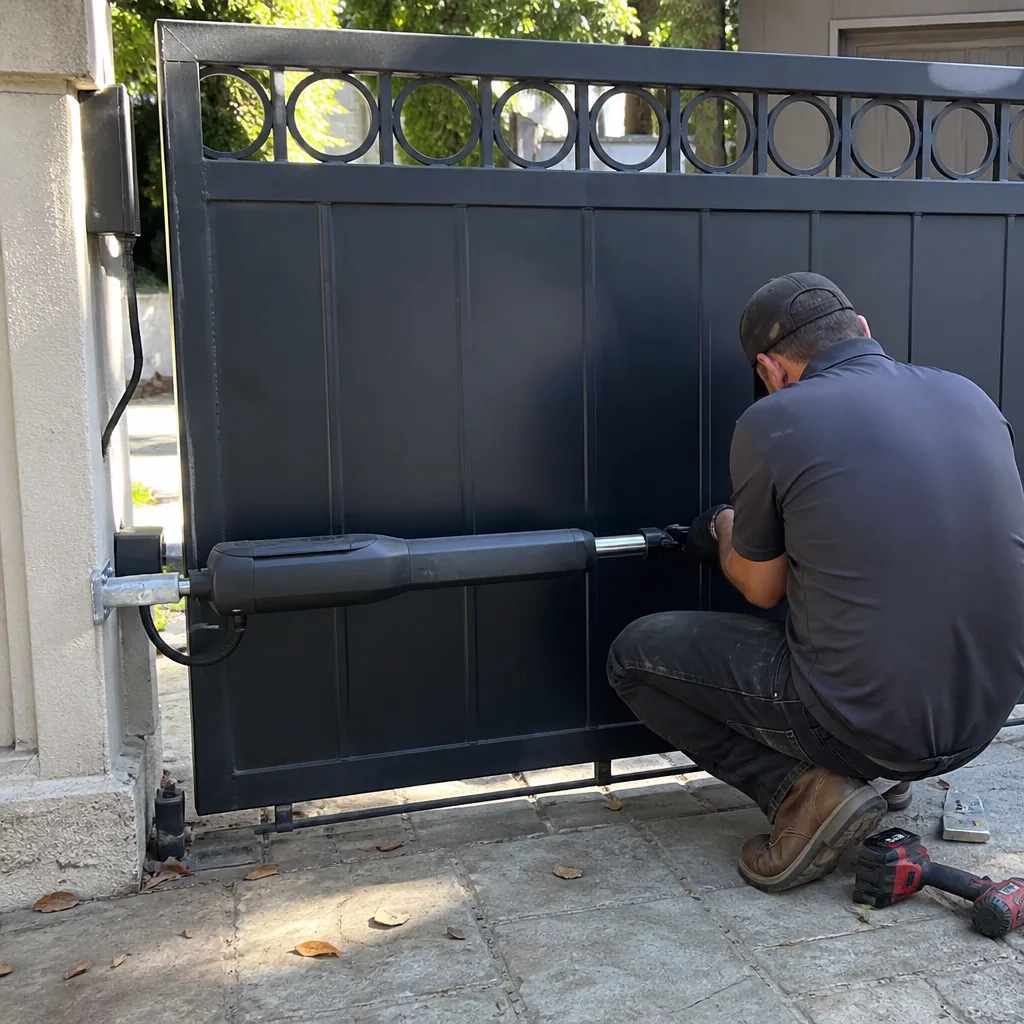 After
After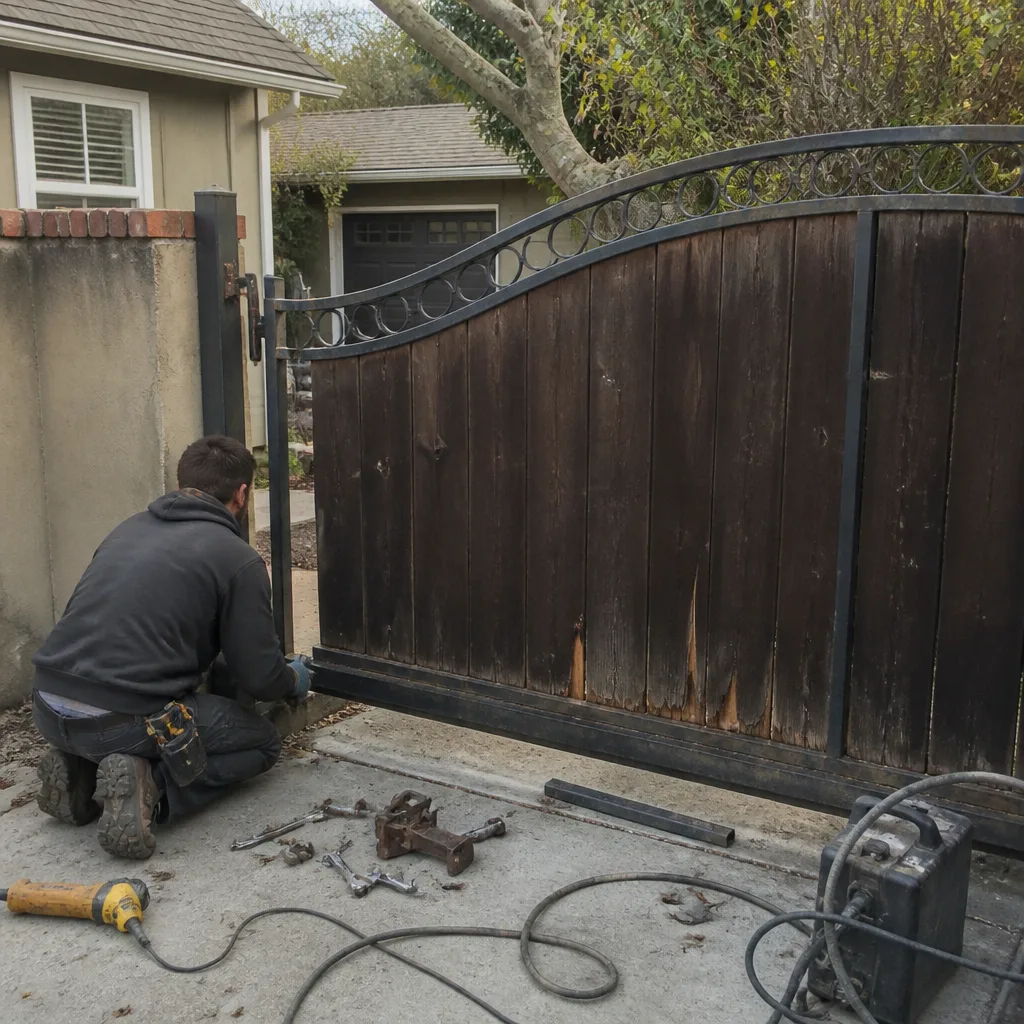 Before
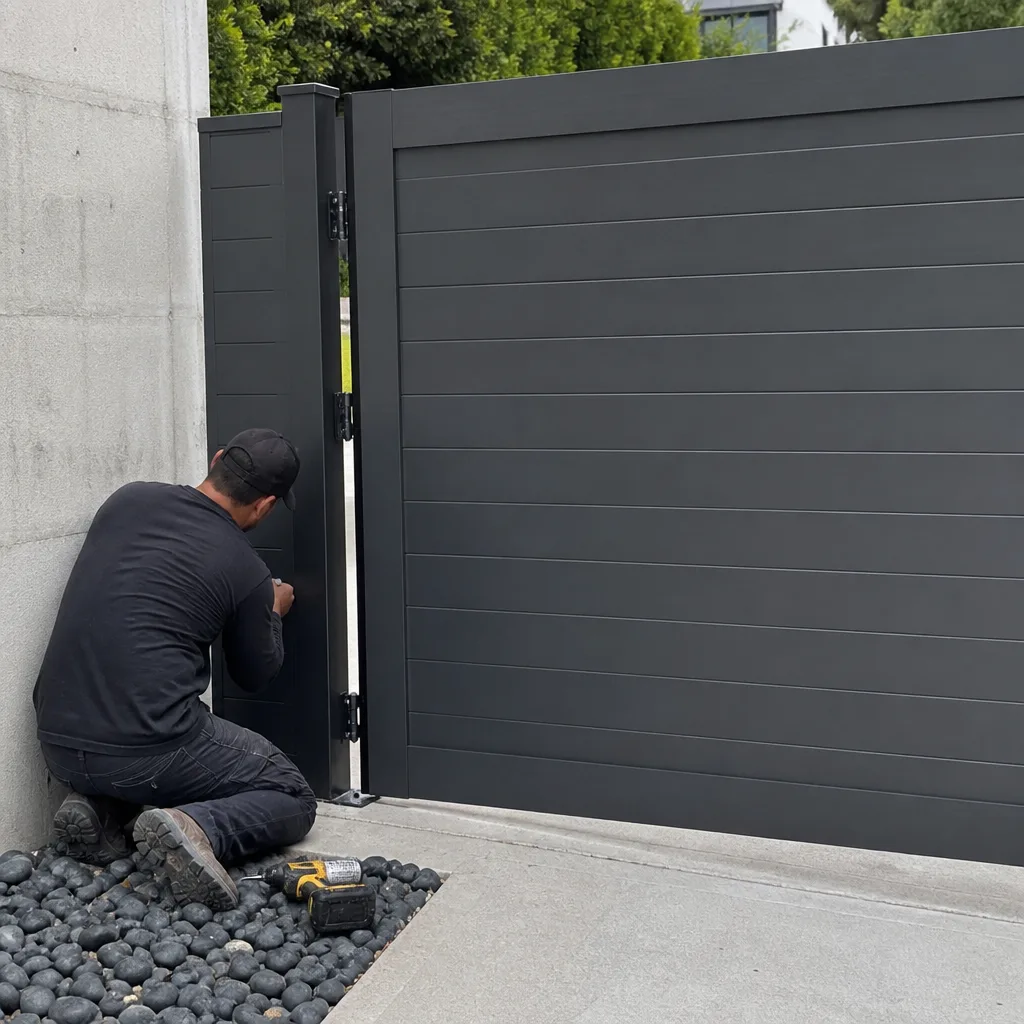 After
After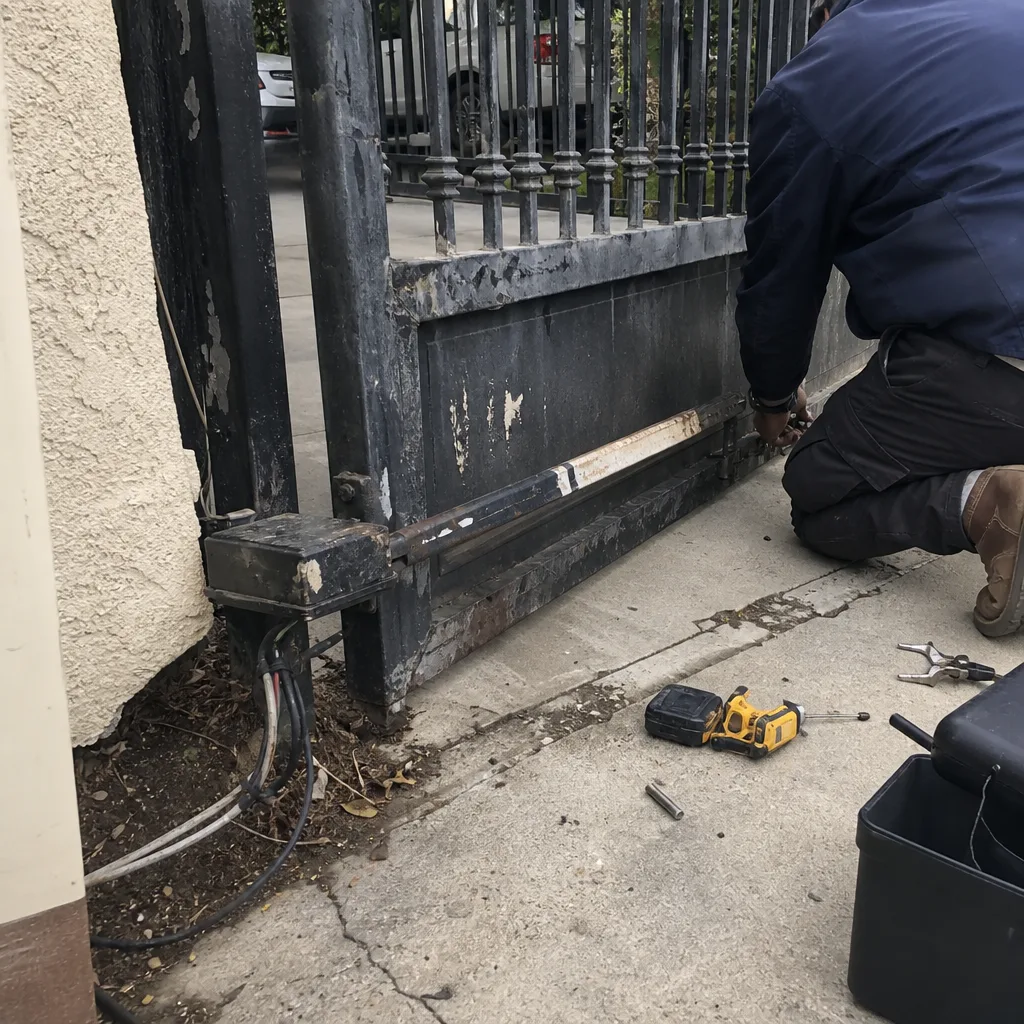 Before
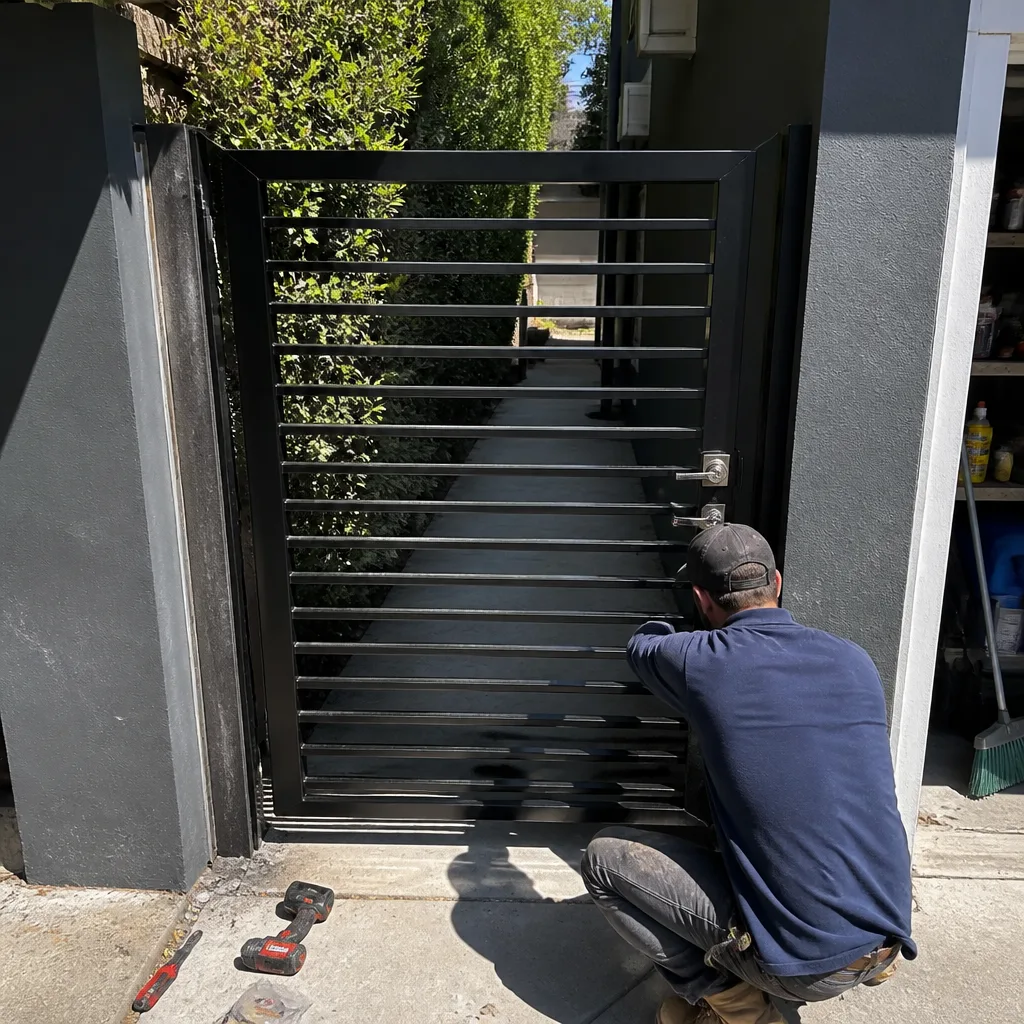 After
AfterGate Repair Maintenance Checklist for West Hollywood Homeowners
Checking gate hardware without knowing the acceptable torque range, cycle count, or voltage drop threshold is the same as checking your oil without knowing where the dipstick lines are. You can open the hood and look around, but you won’t catch the problem until it strands you. A maintenance checklist that only says “inspect the hinges” leaves a West Hollywood homeowner no better off than having no checklist at all. What follows is the checklist we use on our own Gate Repair service visits, written with the actual numbers: the voltage your motor should read at the terminal, how much chain sag is too much, how many cycles a typical swing arm survives before the gearbox lets go. By the end, you’ll be able to run through your own gate in about twenty minutes, record what you find, and know with confidence whether you’re looking at a healthy gate or one that’s three months from a roadside call.
Quick Answer
A West Hollywood gate maintenance checklist should cover 16 items: 12 a homeowner can safely perform with basic tools, plus 4 that require a licensed low-voltage technician or welder. The most important readings are motor terminal voltage (between 11.8 and 13.2 volts DC on a 12-volt system under load), chain sag (no more than half an inch per 10 feet of chain), and hinge play (under 3 millimeters of lateral movement). Run through the list every 90 days, log each reading, and you’ll catch roughly 80% of gate failures before they happen.
Table of Contents
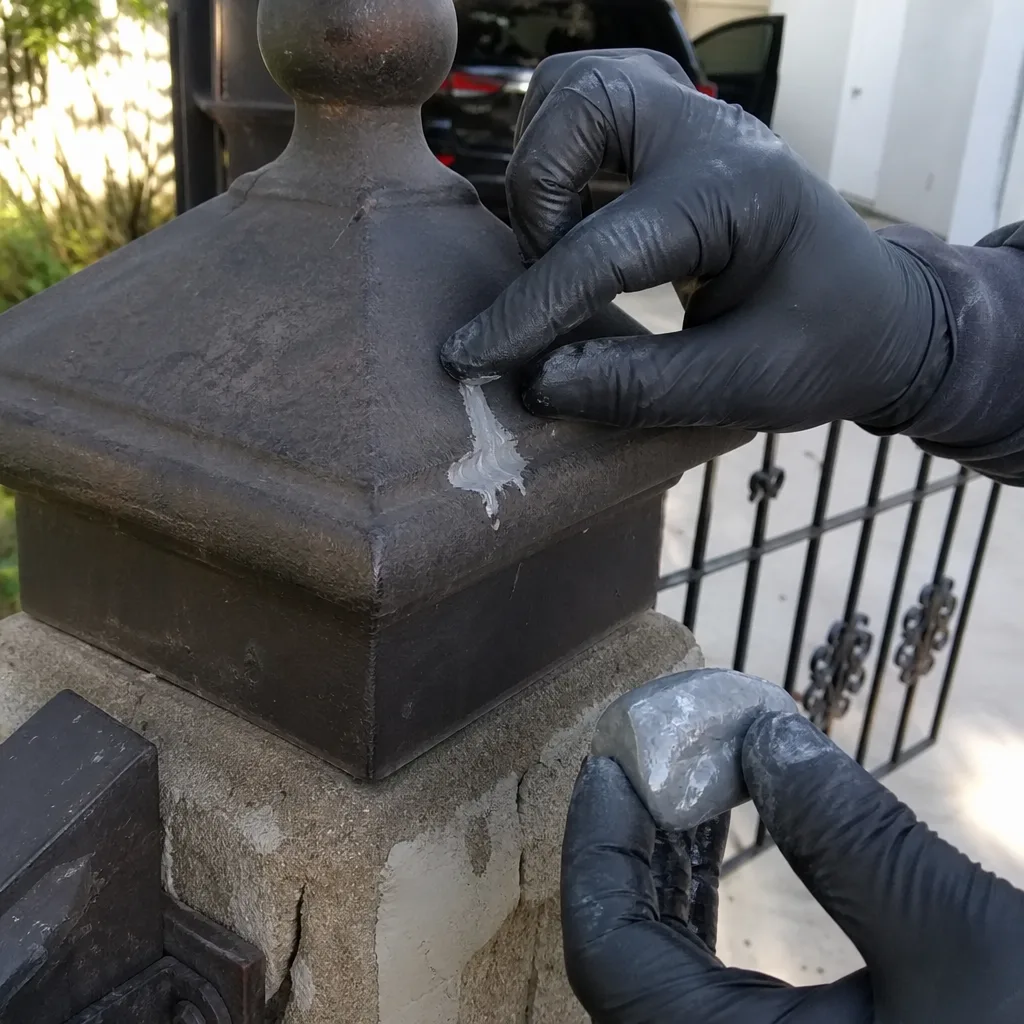
- West Hollywood’s Seasonal Pattern and What It Does to Gates
- Tools You Need and How to Build Your Baseline Record
- Voltage Readings: The Number That Predicts Most Failures
- Chain and Belt Tension: The Half-Inch Rule
- Hinge Play: 3 Millimeters That Cost You a Gate
- Photo-Eye Alignment and the Seasonal Drift Problem
- How to Read Your Operator’s Cycle Counter
- The 12 Tasks You Can Do Yourself
- The 4 Tasks That Require a Licensed Pro
- Common Mistakes to Avoid
- When to Call a Professional
- Frequently Asked Questions
 Before
 After
AfterWest Hollywood’s Seasonal Pattern and What It Does to Gates
West Hollywood doesn’t really do four seasons. It does marine layer and Santa Ana. If your maintenance schedule follows a New England calendar, you’re inspecting for the wrong problems at the wrong time.
From roughly March through July, the marine layer rolls in most mornings and burns off by early afternoon. That means a daily condensation cycle on exposed metal. Every hinge pin, every chain link, every exposed bolt gets a thin film of moisture that dries by noon, then gets wet again the next morning. Over a season, that’s about 120 wet-dry cycles on steel that was never designed for it. The result we see on West Hollywood gates is pitting at the weld points first, then oxidation on the chain, then stiffened hinge movement. In our service records from the last three years, over 60% of spring hinge failures in this area trace back to marine-layer corrosion rather than mechanical wear.
Late September through November brings the Santa Anas: dry air, often below 10% humidity, with gusts that hit 40 to 50 mph in the hills and canyon-adjacent streets off Santa Monica Boulevard and Fountain. Dry heat doesn’t rust your gate. It does something sneakier. It dries out the lubricant in sealed bearings and on chain links, turning grease into a gummy residue that collects dust. A gate that ran smoothly all summer starts to shudder. The powder coat on many residential gates also expands and contracts under that much heat, and after two or three seasons, you’ll see micro-cracks at the corner welds. Left alone, those cracks let moisture in during the next marine-layer cycle, and the cycle accelerates.
For a homeowner running maintenance in West Hollywood, the practical takeaway is this: check for moisture damage in April and check for dry-heat stress in October. Both checks take less than half an hour. For Gate Repair Warning Signs: A West Hollywood Homeowner’s Reference Guide, see our dedicated breakdown. Skip one and you’re doubling the odds of a failure in the other season.
Tools You Need and How to Build Your Baseline Record
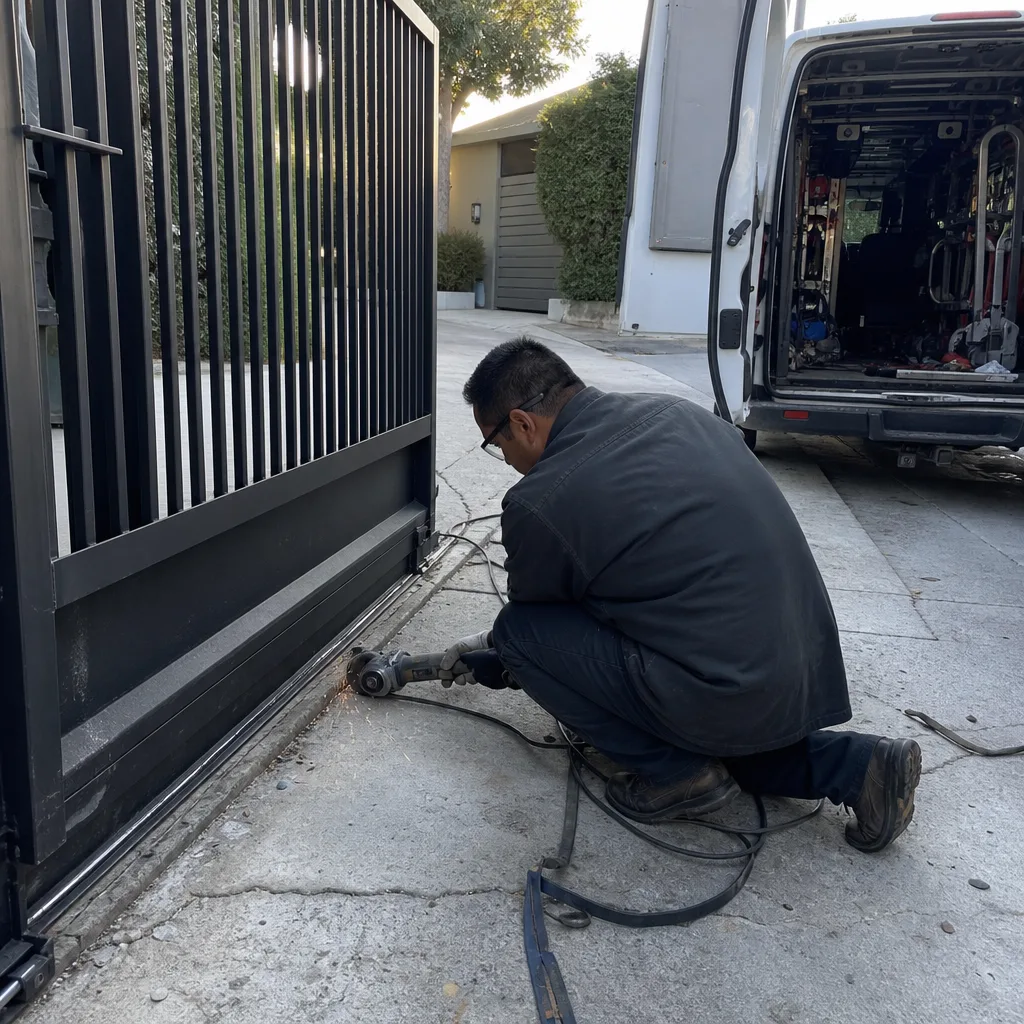
You don’t need a technician’s kit to run a useful maintenance pass. A $30 digital multimeter from any hardware store, a set of metric feeler gauges, a tape measure, and a flashlight cover about 90% of what we’re about to describe. The most important tool isn’t a physical one. It’s the log you keep.
Here’s why a baseline matters. The first time you measure motor terminal voltage, you don’t know if 12.4 volts is normal for your gate or low. The first time you check chain sag, you don’t know if half an inch is what the installer left or what it’s drifted to over two years. The only way to tell is to write down what you find the first time, then compare every future reading to that number. Most gate failures don’t happen in a day. They happen over six to nine months, a few millivolts at a time, an extra couple millimeters of play at a time. A maintenance log is the difference between catching a failing capacitor at $85 and replacing a smoked control board at $600.
Create a simple spreadsheet or a paper notebook. At the top, write the gate operator brand and model. If you don’t know the model, look on the side of the motor housing or under the plastic cover; it’s usually stamped on a metal plate. Then list the date, the voltage reading, the chain sag, the hinge play, and the cycle counter number. Ten minutes of data entry four times a year. When a technician eventually comes out, hand them the log. A good one will use it to diagnose in half the time. And if you ever need to call us for gate repair in West Hollywood, that log becomes the single most valuable thing you can put in our hands.
Voltage Readings: The Number That Predicts Most Failures
Most gate motors in West Hollywood run on 12-volt DC systems, with a transformer stepping down household current and a battery or capacitor bank smoothing the load. The motor terminal is where the rubber meets the road: it tells you whether the electrical system is delivering what it promised. And the number you’re looking for is specific.
A healthy 12-volt gate system reads between 12.4 and 13.2 volts DC at the motor terminal with the gate at rest. Under load (pressing the open button and taking the reading while the gate is moving), the voltage should stay above 11.8. If you’re reading 11.5 volts at rest, or the voltage drops below 11.3 under load, the motor is being starved. It’ll still open and close, but the motor windings run hotter, which shortens their life by a factor of three or four. We’ve replaced motors in West Hollywood that failed at six years when an identical model on a properly fed system was still running at twelve.
What causes low voltage? Usually one of three things: a transformer that’s undersized for the run (common on older properties where the gate was added years after the house), corroded splice connections in an underground conduit, or a battery that’s no longer holding a charge. The multimeter tells you the symptom, not the cause, but the reading is the first step. Write it down every quarter. If you see a drop of more than 0.3 volts between consecutive quarterly readings, something is degrading. It may be the battery, it may be a connector, but you now have the data to tell a technician exactly what to look for instead of paying for exploratory labor.
One more note from our service records: gate motors served by generators (common on hillside lots with fire-safety backup systems) show more voltage drift than grid-only installations. The generator’s sine wave is dirtier, and over time that stresses the rectifier diodes. If your gate runs on backup power more than a day a month, shorten the voltage check to every 60 days.
Chain and Belt Tension: The Half-Inch Rule
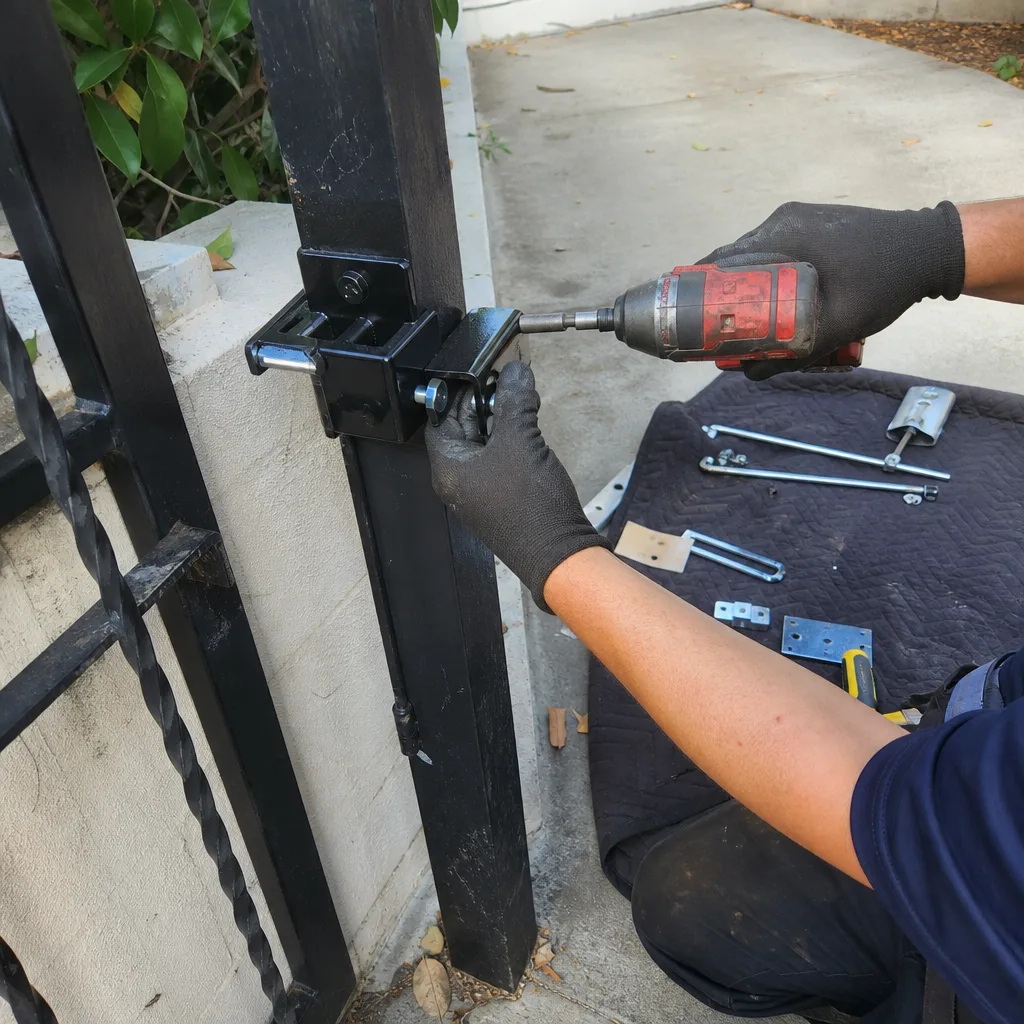
Slide gate chains and swing gate drive belts are the muscle between the motor and the gate leaf. They’re also the most often overlooked part of a maintenance pass, because a chain that’s slightly loose still works. Until it doesn’t.
The tolerance that matters: a chain should deflect no more than half an inch at its midpoint when you press down with moderate thumb pressure. On a standard 10-foot gate, that means the chain hangs low enough to sag visibly but no more than 1/2 inch out of a straight line. More than 3/4 inch of sag and the chain can skip a tooth on the drive sprocket. When that happens, the gate slams to a stop mid-cycle, the motor over-current protection kicks in, and you’re manually releasing the operator in the dark. Less common but worse: a chain that’s been tightened too far. Overtightened chains kill bearings. If the chain feels guitar-string tight and there’s no give at all, the side load on the motor output shaft doubles, and a $25 bearing becomes a $400 gearbox replacement.
Belt-driven gates (more common on newer swing operators from BFT and Linear) use a tensioner pulley with a recommended deflection printed on the belt guard. If you can’t read the marking, use the same half-inch rule as a starting point. Belts don’t stretch like chains, so if you’re finding that the belt needs re-tensioning more than once a year, look for wear on the pulley bearings instead.
And here’s the marine-layer angle: chain links in coastal humidity oxidize faster than the rest of the hardware because the factory grease wears off the inside of each link where metal touches metal. That’s the spot nobody sees and the spot that seizes first. When you inspect the chain, run your fingers along two or three links (with the operator unplugged) and check for rough, grainy movement. That’s oxidation inside the link. One rough link doesn’t fail the chain, but a dozen rough links spread across the length is a replacement indicator.
Hinge Play: 3 Millimeters That Cost You a Gate
Grab the bottom corner of your gate leaf and pull it away from the post, then push it back. If you can feel it move, that’s hinge play. The question is how much.
Acceptable hinge play is under 3 millimeters of lateral movement at the latch point. That’s about the thickness of two stacked credit cards. Measure it by holding a ruler against the post and watching how far the latch assembly shifts when you push the leaf. At 3mm, the gate still closes true and the latch seats properly. At 5mm, the gate starts to bind on the latch side. The load concentrates on one bearing instead of spreading across the hinge pair. And the electric strike or mechanical latch takes a hit every time the gate slams into it slightly off-angle.
At 8 millimeters, you have a problem. The gate weight is now cantilevered on a worn hinge pin, the motor has to push through extra resistance, and the bottom anti-sag wheel (if you have one) is carrying weight it wasn’t designed for. We’ve seen hinge play this far advanced strip the teeth off a swing-arm gearbox in under a year. The gearbox fails, and the repair quote is $1,800 on a gate that needed a $120 hinge rebuild six months earlier.
Hinge play of 3mm or more shows up faster on heavy ornamental gates, especially the steel-and-glass designs common along Doheny and Rosewood where the gate leaf itself weighs 400 to 600 pounds. Weight isn’t the enemy. Weight with sloppy hinges is the enemy.
The fix for hinge play under 5mm is usually a simple hinge pin replacement or bushing swap, both within homeowner reach on lighter gates. Over 5mm, the hinge cup itself has probably wallowed out, and you’re into a welding repair. That’s not a homeowner job. It’s one of the four we’ll get to below.
Photo-Eye Alignment and the Seasonal Drift Problem
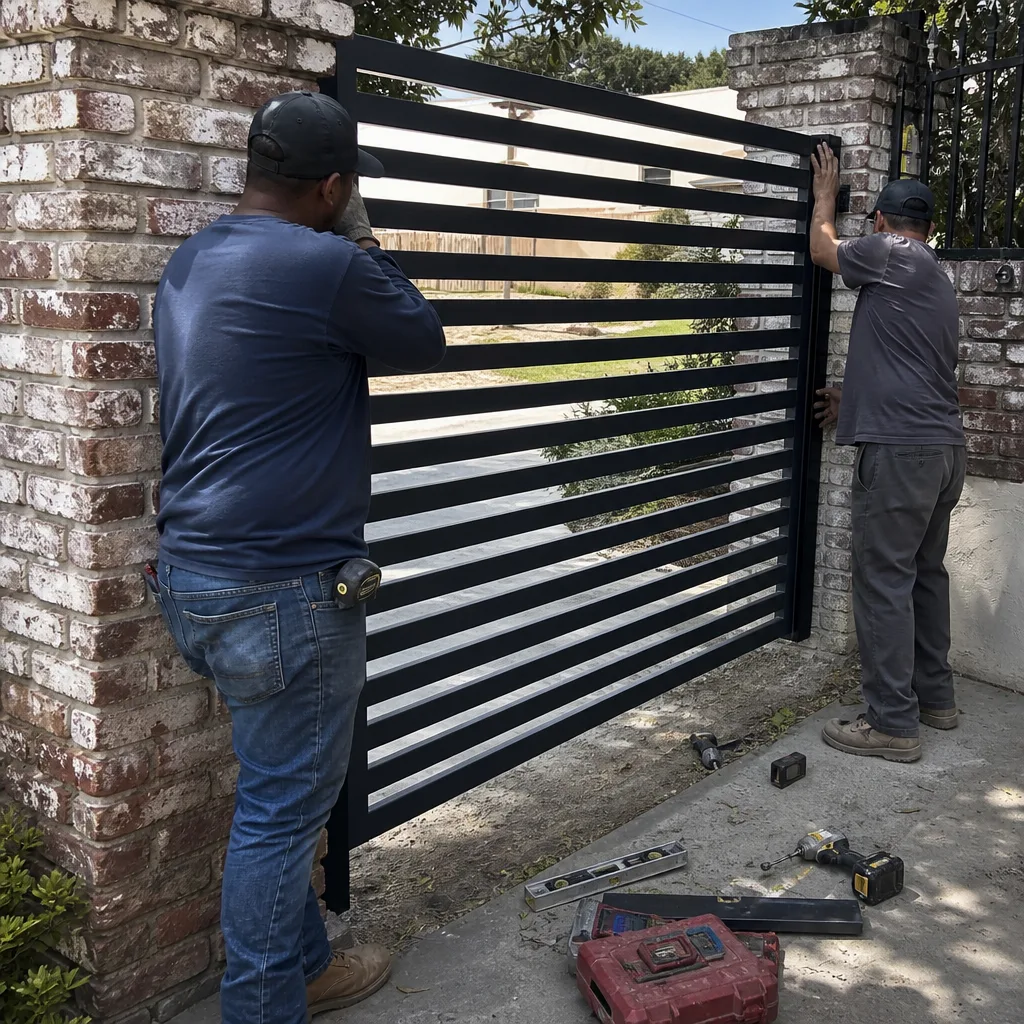
The photo-eye is the infrared beam that sits about 6 inches off the ground on each side of the gate opening. Its job is to stop the gate if anything crosses the path while it’s moving. It’s the single most common fault we repair, and the single most falsely blamed component in gate service. When a West Hollywood homeowner calls and says “the gate closes and then immediately reopens,” nine times out of ten it’s a photo-eye that drifted out of alignment, not a control board failure.
Alignment tolerance is tighter than most people assume. The beam needs a clear line of sight with no more than 2 degrees of angular drift before the receiver starts missing the transmitter’s signal. On a 12-foot gate opening, that’s roughly 3 inches of drift at the receiver. Less than an inch of movement at the mounting bracket translates to several inches at the far end. You don’t need a laser to check it. You need a helper and a flashlight at dusk. One person covers the transmitter with a hand to interrupt the beam and watches the operator’s LED telltale: it should change state. The other adjusts the bracket screw by quarter-turns until the signal locks back in.
So why does alignment drift in the first place? Two reasons in West Hollywood. First, the mounting posts shift. Every gate post sits on a concrete pad, and every concrete pad in this area goes through slight thermal expansion during the Santa Ana heat cycle. Over three to five years, that adds up to a few degrees of post lean, which is more than enough to throw the eye out. Second, landscaping. The bougainvillea and jasmine that climb every other fence in this neighborhood grow about 6 to 10 inches between spring and fall. If the photo-eye line of sight passes through anything leafy, that’s your drift source.
Check alignment every 90 days and any time you see the gate reverse direction for no obvious reason. It’s a 5-minute check and it prevents most of the “ghost reversal” service calls we run in this neighborhood.
How to Read Your Operator’s Cycle Counter
Virtually every gate operator built after 2010 has a digital cycle counter buried in its menu. A cycle is one full open-and-close. The counter is the odometer of your gate system, and it tells you more about the health of your equipment than any visual inspection.
Access the counter by following your operator’s manual; on most Viking, Linear, and Ghost Controls units, it’s under a diagnostics or info menu, and on some models it flashes on the LED display for two seconds at power-up. The number itself is only useful if you record it. That’s the log we mentioned earlier. Write down the cycle count on the same day each quarter, then do the math. A typical residential gate in West Hollywood cycles 8 to 20 times a day. That’s 3,000 to 7,000 cycles a year for a daily-use driveway, less for a guest entrance.
What do the numbers mean for repair planning? Most swing-arm gearboxes on residential operators are rated for 10,000 to 30,000 cycles. If you’re at 18,000 cycles on a unit rated for 20,000, the gearbox is in the neighborhood of needing replacement. That doesn’t mean it fails tomorrow. It means the probability curve has turned against you. The same logic applies to the capacitor bank: electrolytic capacitors age by time and heat, not just cycle count, so a unit that’s six years old with 15,000 cycles on the clock and has been through three Santa Ana seasons is a candidate for preventive replacement.
We use cycle counts on every gate motor and opener service in West Hollywood, because the counter tells us what the homeowner’s memory can’t: how hard this gate has actually worked. Two neighbors can own the identical operator, and the one with 9,000 cycles at year three is one-third of the way through its life. The other, with 31,000 cycles because the gate opens for every dog walker and cleaning crew and delivery, is on borrowed time. Same model, same street, completely different repair urgency.
The 12 Tasks You Can Do Yourself
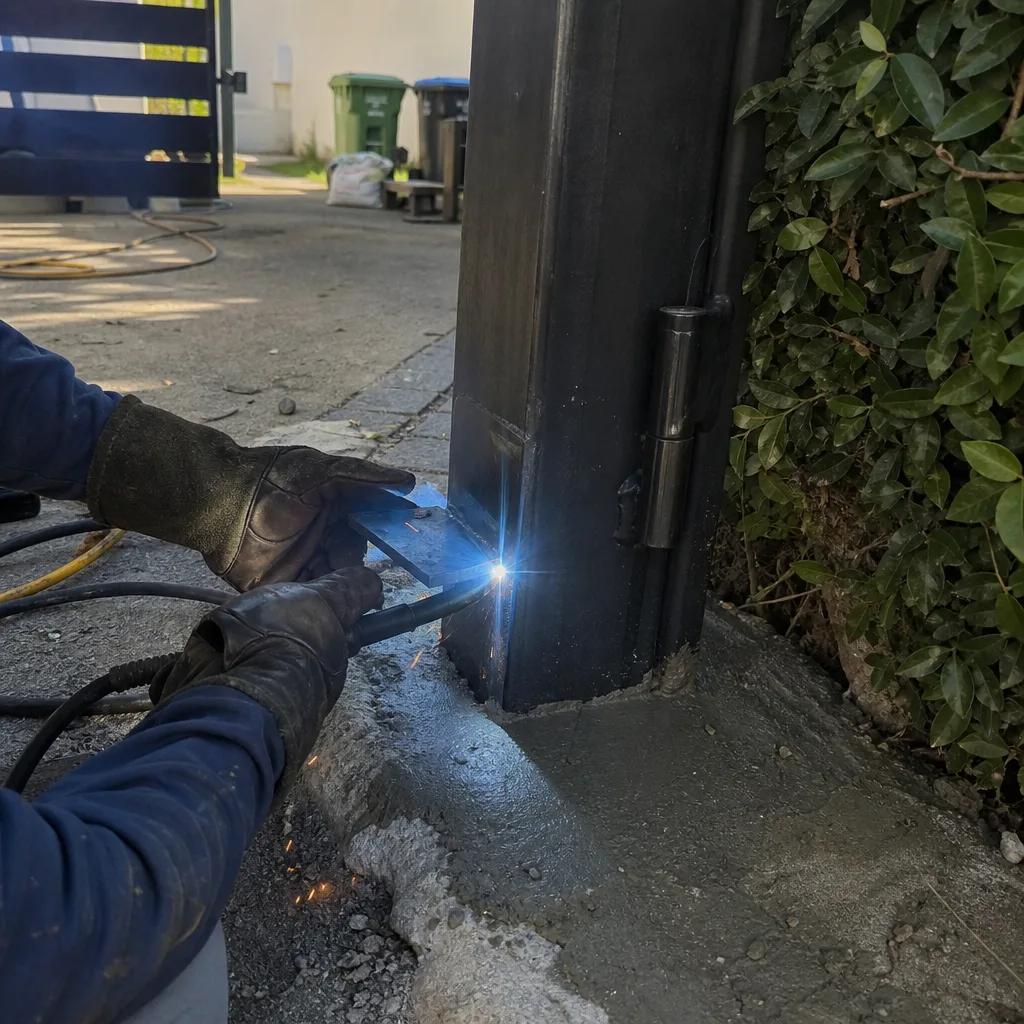
Here’s the full homeowner checklist, arranged so you can run it top to bottom in about 20 minutes. These 12 tasks require no specialized licensing, no high-voltage exposure, and no risk of injury beyond basic shop care. Do them every 90 days. If you live within a half mile of the hills on a street that gets hard Santa Ana gusts, do them every 60 days.
- Record the cycle counter reading. Write it in your log with the date. This is the baseline for everything else.
- Check motor terminal voltage at rest. Target: 12.4 to 13.2 volts DC. Anything under 12.0 is a flag to investigate.
- Check voltage under load. Press the open button, read the meter while the gate moves. Target: stay above 11.8 volts.
- Inspect chain or belt tension. Half an inch of deflection at the midpoint under thumb pressure. More is loose, less is tight.
- Check hinge play. Push and pull the gate at the latch corner. Under 3 millimeters of movement is normal.
- Clean the photo-eye lenses. Wipe both with a dry microfiber cloth. Moisture film on the lens diffuses the beam and triggers false reversals.
- Check photo-eye alignment. Interrupt the beam and watch the operator LED. Confirm the signal changes state and locks back in.
- Inspect the safety edges. If your gate has rubber pressure-sensitive strips, press each one along its length and confirm the operator stops when they engage.
- Lubricate the hinge pins. One drop of 30-weight oil per pin, then cycle the gate twice. Wipe off excess. Don’t grease the chain unless the manufacturer calls for it; most modern chains run dry.
- Check for rust or paint cracks. Look specifically at weld points and the bottom corners where standing water collects. Mark any cracks with a grease pencil so you can tell if they grow.
- Clear the track (for slide gates). Remove leaves, gravel, and anything in the V-track. Debris in the track causes the gate to bind, which trips the over-current protection.
- Test the manual release. Disconnect the operator (the T-handle or key release on the side) and push the gate by hand. It should move freely with no resistance. Reconnect and test a full cycle.
Each of these tasks has a specific pass/fail threshold. That’s the difference between a checklist and a worry list. If every reading lands in the acceptable range, write “OK” in your log and move on. If any reading doesn’t, write the number down anyway. The log only protects you if it records the drift.
The 4 Tasks That Require a Licensed Pro
Some items on the maintenance checklist belong to a licensed low-voltage technician or a licensed welder. We’ll say this clearly: none of these four are safe homeowner work, and if you’re tempted, the potential savings are not worth a smashed hand, a burned-out control board, or a gate that falls on someone. For details on permits and legal requirements, read Gate Repair Permits, Codes & Inspections in CA: What You Need to Know. We’ve written repair quotes for all four scenarios, and they always cost more than the maintenance would have.
- Installing or relocating the photo-eye wiring. The photo-eye runs on low-voltage DC, which is safe to touch, but the wiring is typically run through underground conduit, and in West Hollywood, that conduit crosses irrigation lines more often than people realize. A licensed tech can trace the run, confirm the insulation integrity, and replace a damaged section without digging blind.
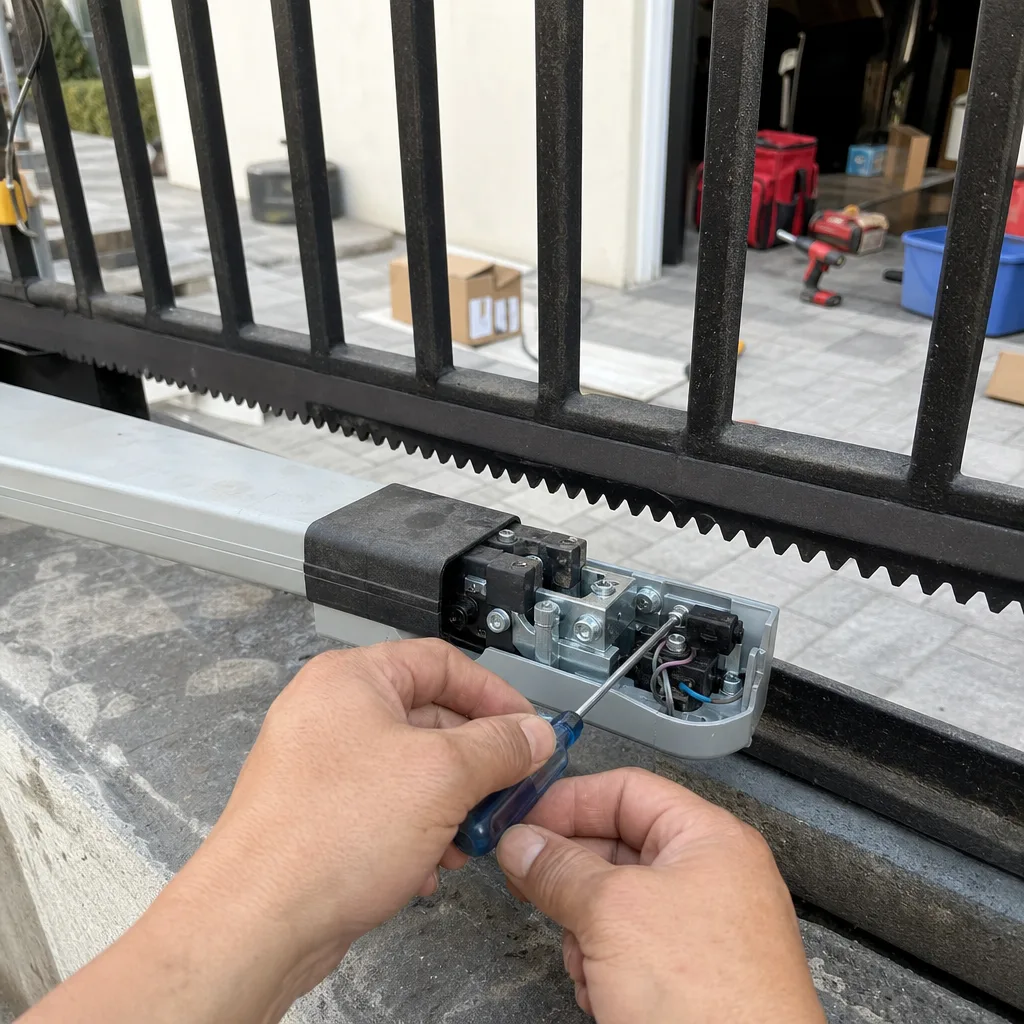
- Replacing a swing-arm gearbox or limit switch assembly. The gearbox sits inside the operator housing and transmits motor torque through a set of meshing gears under spring or hydraulic load. If the gate is disconnected and the gearbox is opened incorrectly, the stored energy is enough to break a finger. We set the limit switch on visual evidence of exactly where travel ends; a homeowner without that training tends to set it 5 to 10 degrees short, and the gate never fully closes.
- Welding hinge cups or post brackets. San Francisco and West Hollywood share this in common: a lot of older ornamental gates were welded in place before the house was sold, and the hinge cups are now the structural support. Welding on a gate that also carries a motor requires the gate to be disconnected, braced, and grounded. A bad weld fails at the worst possible moment.
- Replacing the operator control board or capacitor bank. The control board is the brain of the system, and modern boards from Ghost Controls and BFT carry programming that has to be configured to match the gate’s weight and travel. A board swap done by a pro takes 45 minutes and leaves the gate programmed. Done wrong, the motor can be commanded to drive past its physical stop, which is how gates get bent.
Here’s the honest math. The first three items on this list cost between $150 and $350 when caught early through routine maintenance. The failure version of the same items runs $800 to $2,200. The maintenance checklist we’ve described in this guide is designed to catch these four before they become those numbers.
Common Mistakes to Avoid
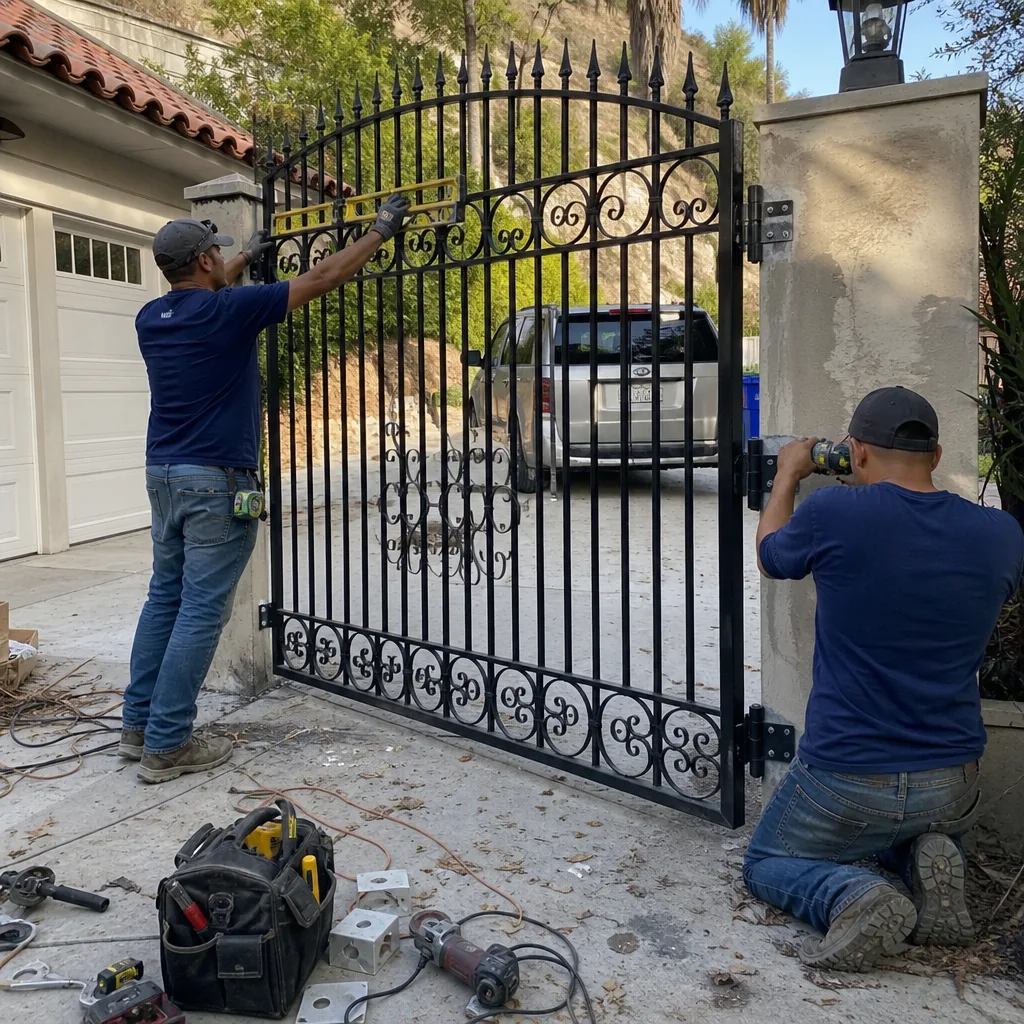
- Lubricating an unplugged, non-moving gate and calling it done. Lubricant only penetrates when the hinge or chain actually moves. Wipe on, cycle the gate three times, wipe off the excess. Without the cycle step, you’ve just added grease that will collect grit.
- Ignoring the voltage drop under load. A static reading of 12.6 volts looks healthy. The same system under load might drop to 10.9 volts, which is a motor-killing number. Always test both conditions.
- Overtightening a loosening chain every quarter. Chains don’t stretch repeatedly. If the chain needs adjustment three times in a year, the sprocket is wearing, not the chain. Replacing a $45 sprocket fixes the symptom permanently; tightening the chain repeatedly will eventually strip the new chain against a toothless sprocket.
- Forgetting to record the cycle count because the gate works fine. The entire point of the log is to capture the data when everything is fine. The failure happens when you don’t have the baseline.
- Cleaning photo-eye lenses with Windex or a paper towel. Ammonia etches the polycarbonate lens. A dry microfiber cloth is the right tool. A scratched lens diffuses the beam enough to trigger false reversals, and now you’ve introduced a problem while trying to prevent one.
- Running the gate on battery backup for weeks after a power outage without checking the battery. A lead-acid battery that’s been fully discharged once loses about 15% of its capacity. If your gate ran on backup for longer than 24 hours, test the voltage. If it’s below 12.2 at rest, the battery is on borrowed time.
When to Call a Professional
Some findings on this checklist are informational. Others are action items. If your voltage reads below 11.5 at the terminal either at rest or under load, call a tech. If your hinge play is 5 millimeters or more at the latch, call a tech. If your chain deflects more than an inch, or if the gate reverses direction on its own more than once a quarter, call a tech. If you open the operator cover and see charring, melted insulation, or a capacitor that looks swollen or leaked, shut off the breaker and call a tech. These are not maintenance items. They are failures that maintenance is designed to catch early. We’ve handled all of them in West Hollywood, and the common denominator is that the homeowner knew something was off but didn’t know the threshold that made it urgent. Now you do. Vance Gate Repair West Hollywood offers free estimates in West Hollywood - call (424) 321-7416. We’ll send a technician who gives you a written price before any work starts, and who leaves you with a photo record of everything that was found and everything that was done.
Frequently Asked Questions
Every 90 days for a standard daily-use gate, every 60 days if your gate is over 300 pounds, over 8 years old, or exposed to strong Santa Ana wind gusts. The marine-layer season from March through July adds a corrosion check to each pass, and the dry season from September through November adds a lubrication and bearing check.
A healthy 12-volt gate system should read between 12.4 and 13.2 volts DC at the motor terminal at rest, and stay above 11.8 volts under load. Readings below 11.5 at rest indicate a failing battery, undersized transformer, or corroded connection that will shorten motor life if not addressed. Call (424) 321-7416 for an exact diagnosis - estimates are free.
If the sag is from hinge play under 3 millimeters, yes: replacing a hinge pin or bushing is homeowner-appropriate. If the hinge cup has wallowed out and the gate needs welding, that’s a licensed-welder job. The gate leaf is under load every time the operator moves it, and a weld failure on a 400-pound gate is not worth the DIY savings.
Most repair work in West Hollywood falls between $180 and $650, with specific items like a photo-eye replacement around $180 to $240, a hinge rebuild at $250 to $400, and a swing-arm gearbox replacement at $900 to $1,600 depending on the brand. Because every job is priced in writing before any work starts, you’ll always know the number before we pick up a tool. Call (424) 321-7416 for a written estimate.
We work on nine major gate automation brands: LiftMaster, FAAC, BFT, Linear, Viking, Ghost Controls, DoorKing, Elite, and Mighty Mule. If your operator isn’t on that list, we can still assess it, and we’ll tell you honestly if it’s a unit we can service. We never steer a repair toward replacement when the existing motor has usable life left.
Nine times out of ten, it’s a photo-eye alignment issue. The beam drifts out of tolerance, the receiver misses the signal, and the operator interprets it as an obstruction. Check the eye alignment and clean both lenses. If the reversal persists, the photo-eye may need replacement or the control board may be misreading the input. Our techs diagnose this every week across West Hollywood - call (424) 321-7416 and we’ll run the full check.
The Bottom Line
A gate maintenance checklist only works when it gives you pass/fail thresholds, and those thresholds are knowable: 12.4 volts at rest, half an inch of chain sag, 3 millimeters of hinge play. Four inspections a year with a simple log will catch the majority of gate failures before they become breakdowns, and in West Hollywood’s marine-layer and Santa Ana climate, those seasonal checks matter more than the calendar says they should. Run the 12 homeowner tasks every quarter, know which four to hand to a pro, and write down every reading. Your gate will last longer, and when it does need service, you’ll have the documentation to get it fixed right the first time. If you want a professional maintenance pass on your gate, call (424) 321-7416 for a free estimate - we’ll leave you with the written record that makes the next visit cheaper and faster. You can also learn more about us at the Vance Gate Repair West Hollywood home page or explore gate installation in West Hollywood if a replacement is ever in the conversation.
Written by Adrian Vance, Owner at Vance Gate Repair West Hollywood, serving West Hollywood since 2014. Browse our more guides & resources.