
Last updated September 20, 2026
Free on-site gate assessment - hinges, posts, and your LiftMaster or Nice gate operator checked before anything is quoted
The assessment is free and the quote is the invoice.
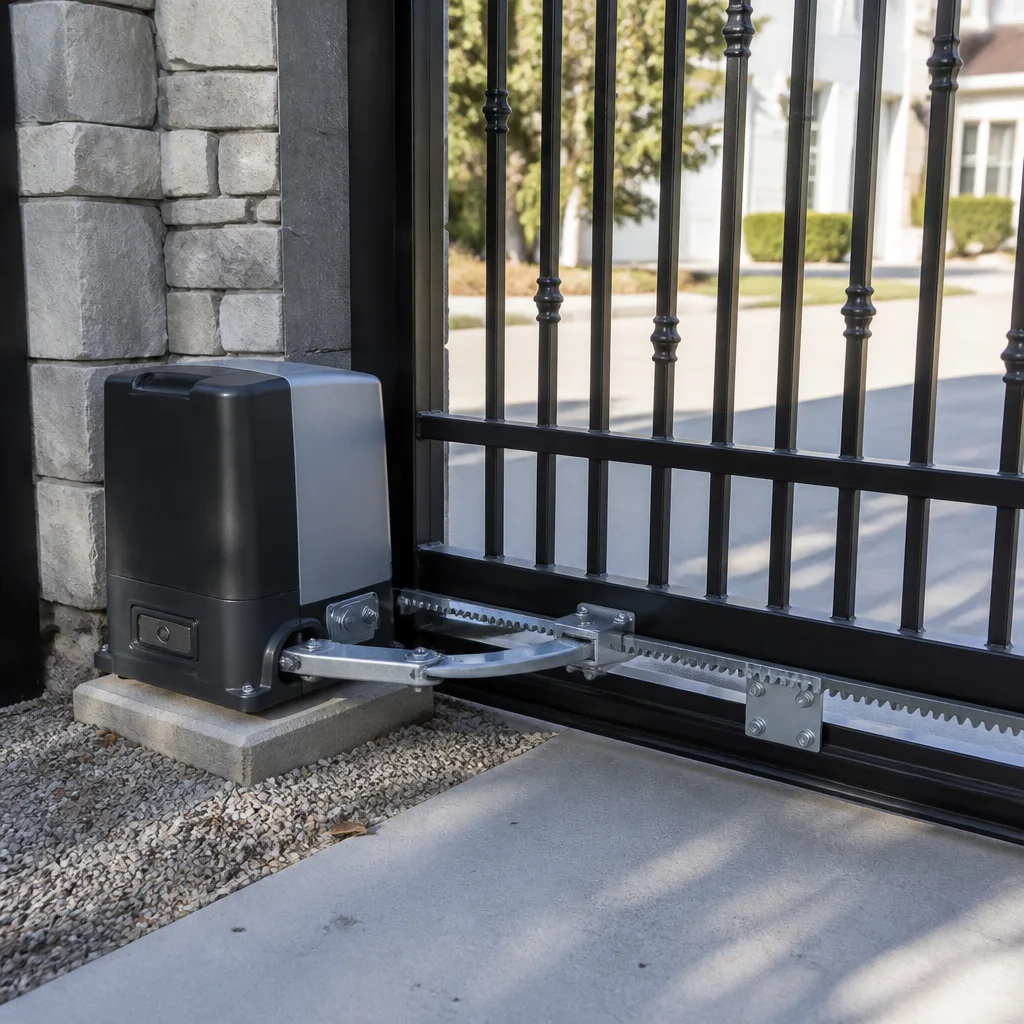
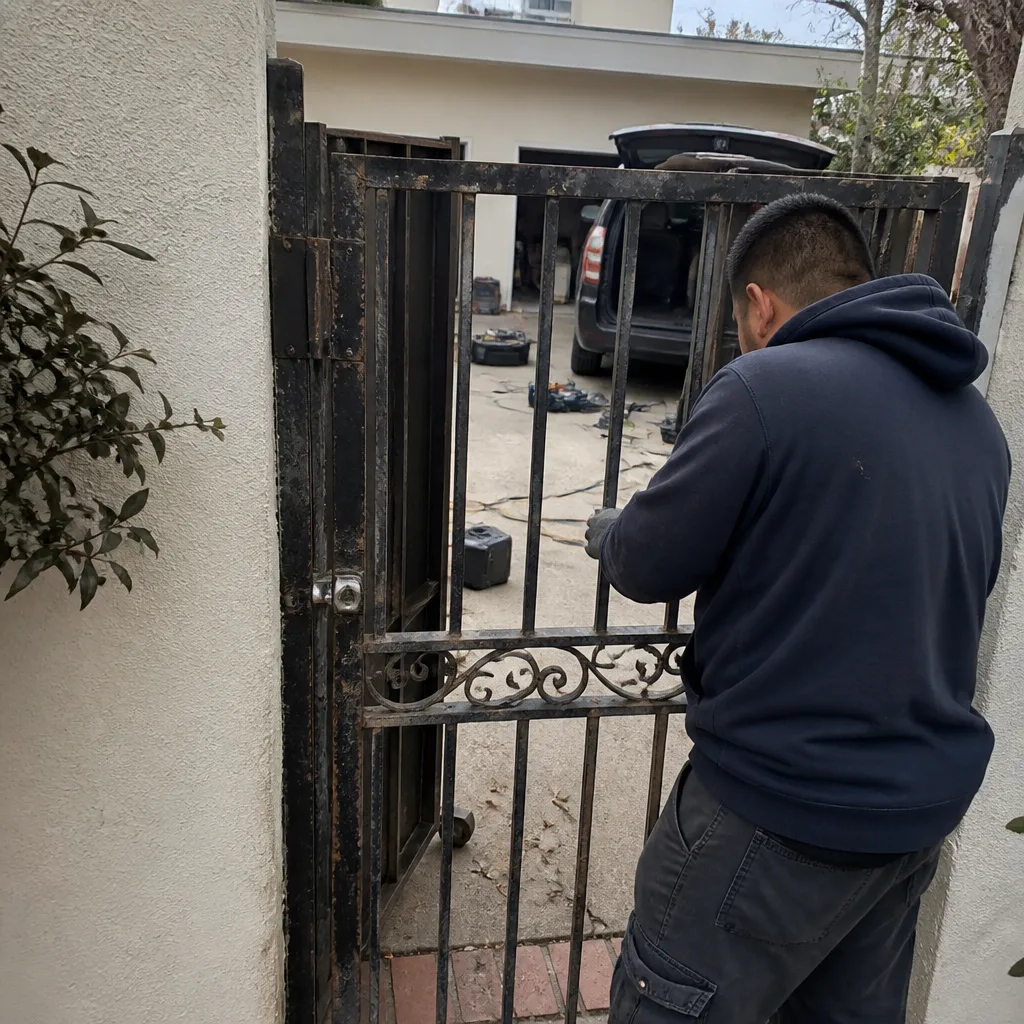 Before
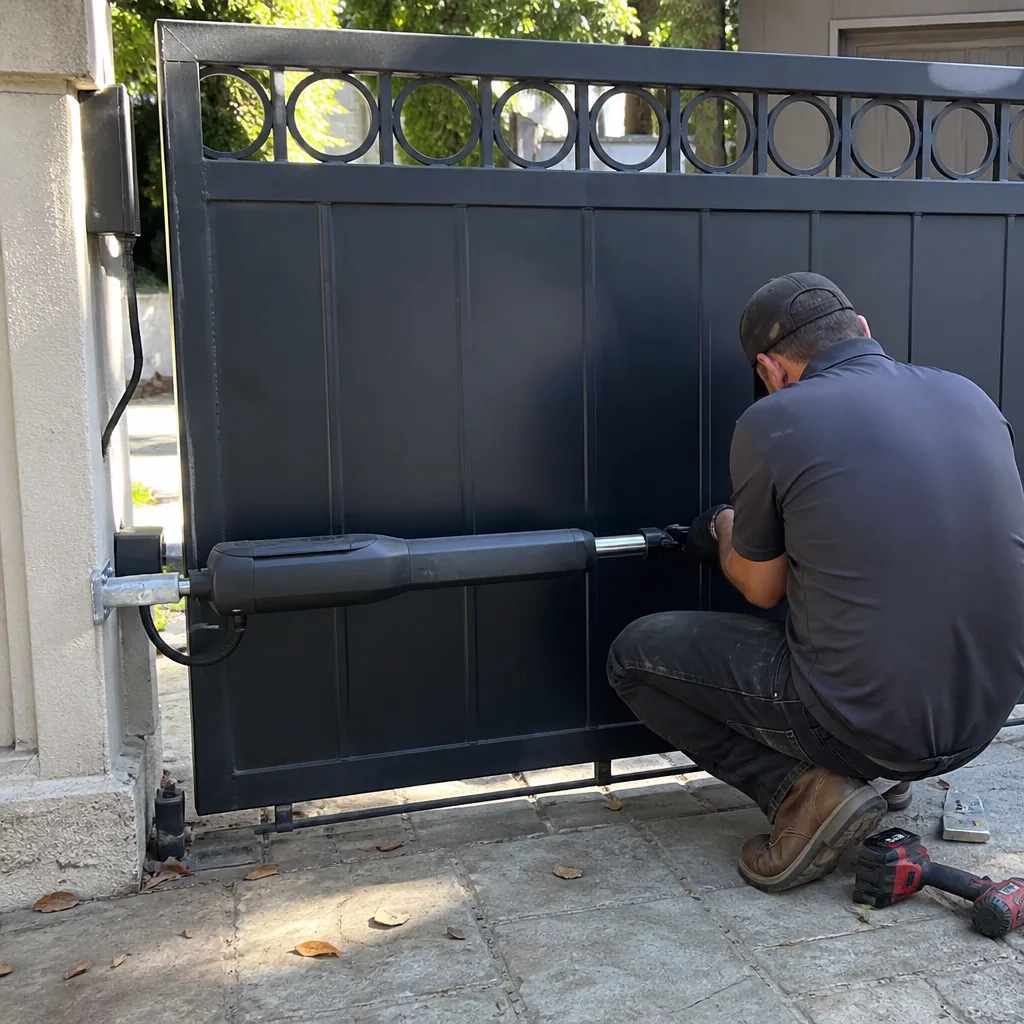 After
After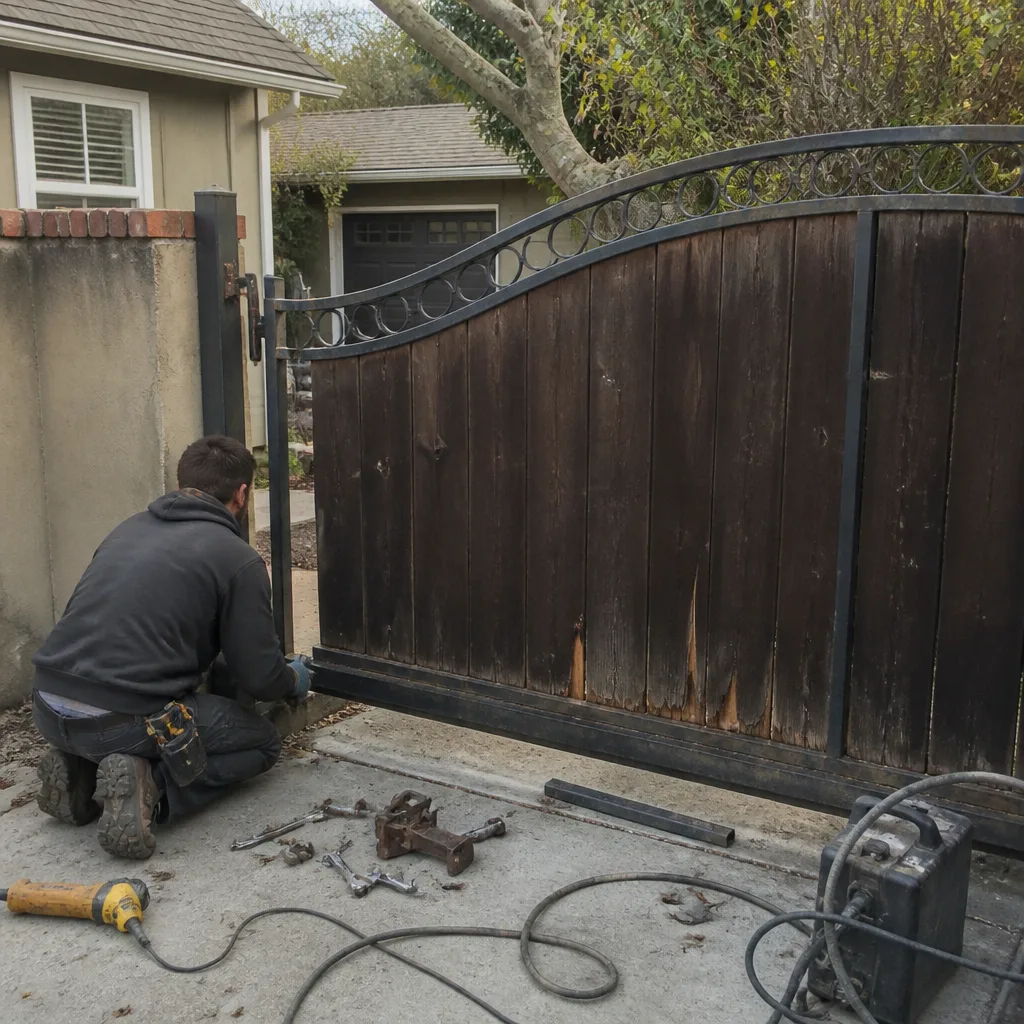 Before
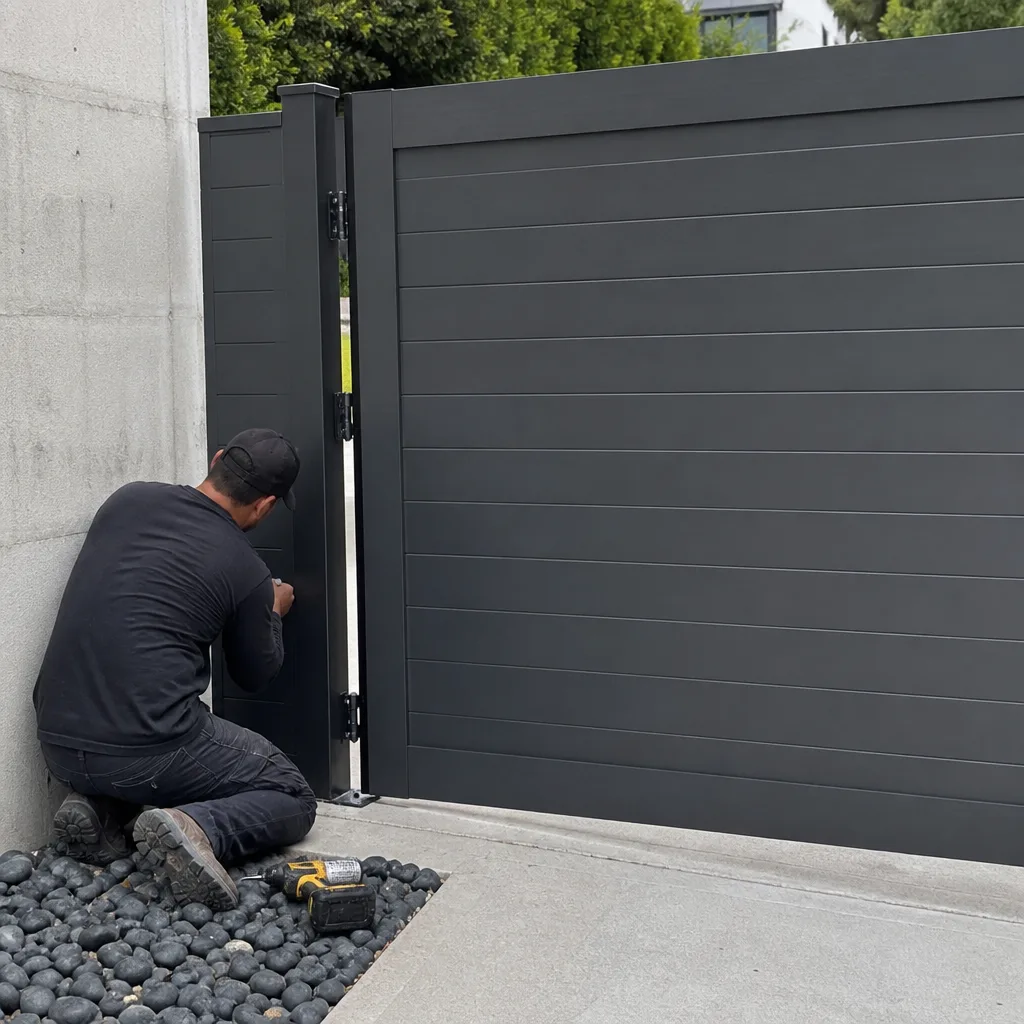 After
After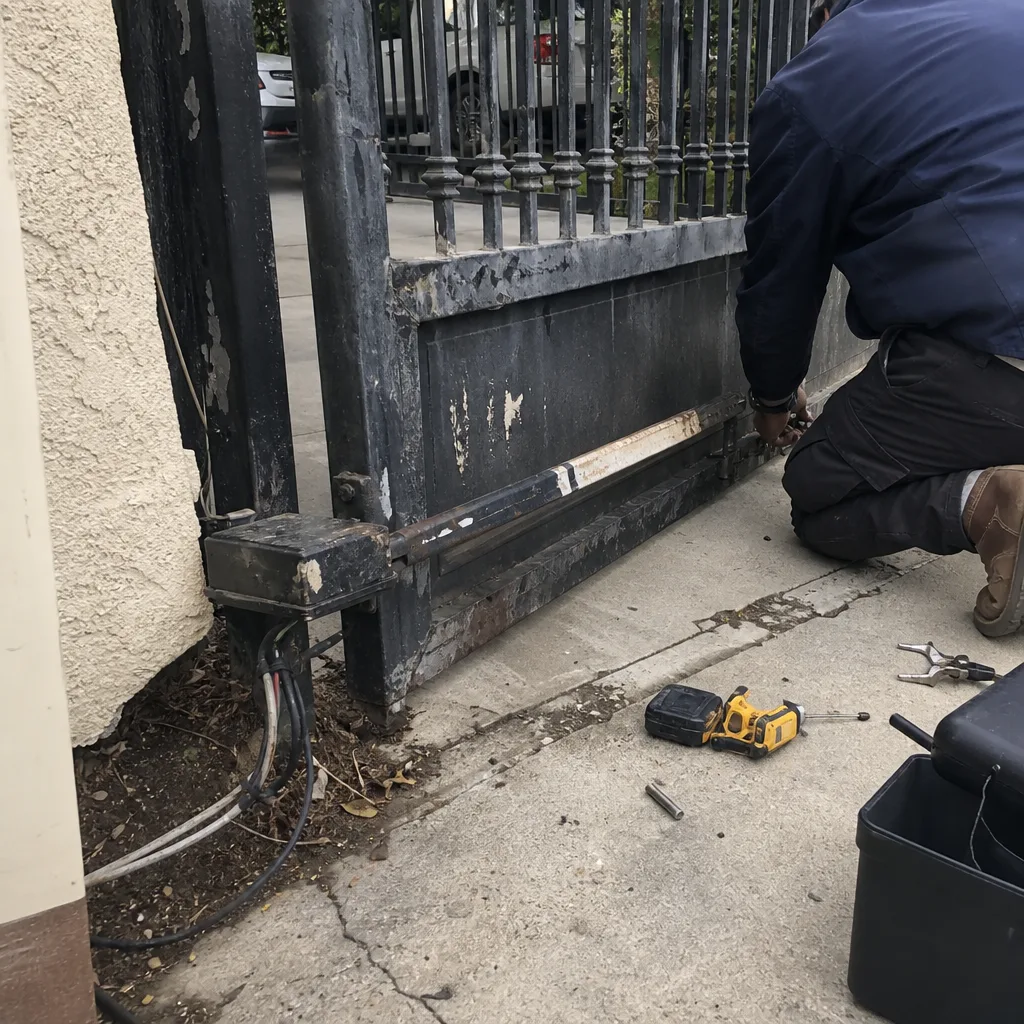 Before
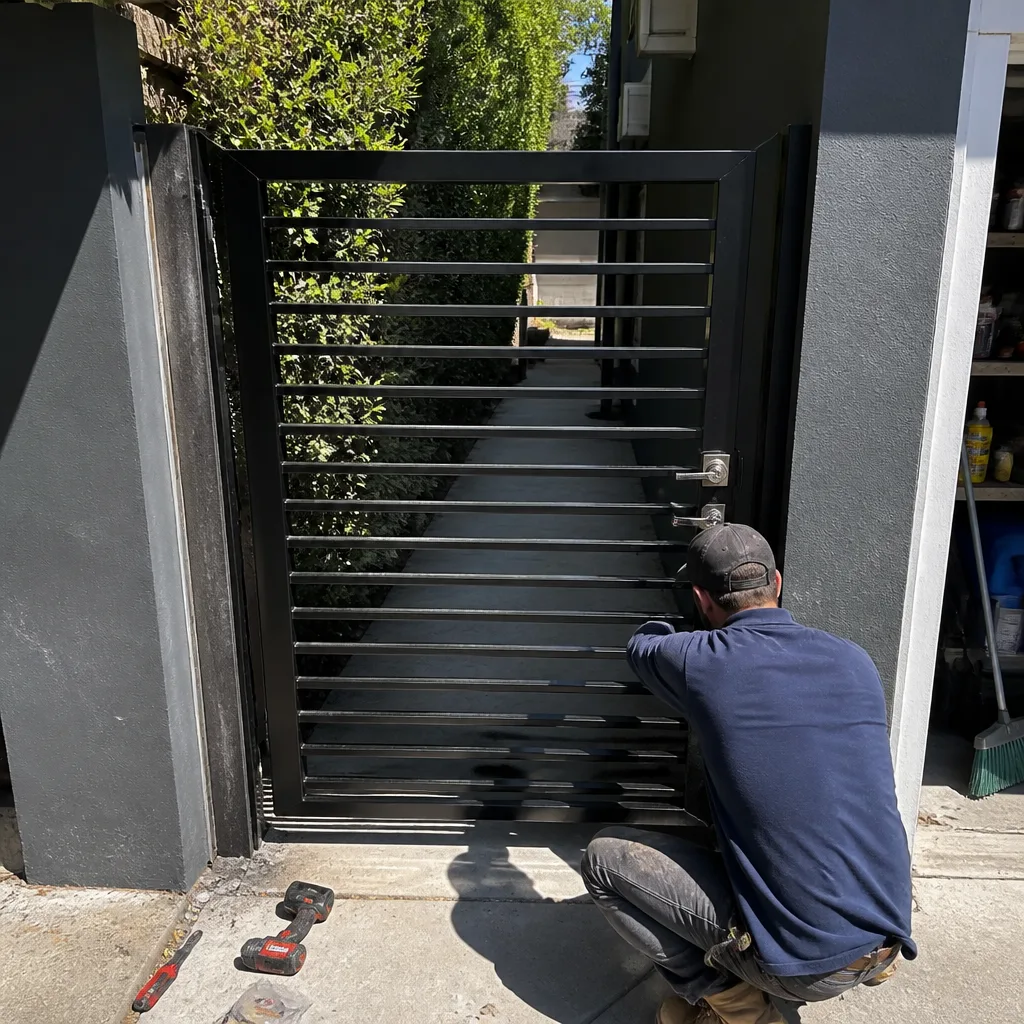 After
AfterGate Repair Warning Signs: A West Hollywood Homeowner’s Reference Guide
A gate that hesitates for two seconds before moving isn’t being dramatic. Its operator is drawing start-up current high enough to indicate a bearing load problem that will shorten motor life by roughly 40 percent. That two-second pause is measurable. So is the grinding sound, the erratic remote, and the rust pattern that tells you a weld is about to let go. This guide gives West Hollywood homeowners the observable, measurable signals that precede gate failure by weeks, so you can act on evidence rather than a hunch that “something sounds off.”
Quick Answer
Gate repair warning signs in West Hollywood fall into four measurable categories: electrical readings (voltage drops, high start-up current draw), physical measurements (track wear, hinge sag, rust penetration depth), cycle behaviors (hesitation, partial reversal, incomplete travel), and remote-control patterns (range loss, intermittent failure, delayed response). Most failures announce themselves two to six weeks before the gate stops working entirely, and catching them during that window typically turns a $500-$900 repair into a $150-$300 adjustment.
Table of Contents
- Electrical Warning Signs You Can Measure
- Mechanical Warning Signs: What You Can See and Feel
- Obstacle-Detection Behavior as a Diagnostic Signal
- Remote and Receiver Warning Signs
- Structural Warning Signs: Rust, Paint, and Weld Failure
- Urgency Tiers: When to Fix, When to Schedule, When to Monitor
- The $12 Multimeter Voltage Check Every Homeowner Can Do
- Common Mistakes to Avoid
- When to Call a Professional
- Frequently Asked Questions
- The Bottom Line
We work on gates across West Hollywood every week, and the pattern is consistent. The homeowner who calls us early describes a symptom: “it’s making a noise,” “the remote works sometimes,” “it seems slower than it used to be.” The homeowner who calls us late describes a failure: “it won’t open at all,” “the motor just hums,” “the gate fell off the track.” This guide is built so you can be the first kind of caller. If you’re already dealing with a gate that has stopped working, our Gate Repair in West Hollywood page covers what a full repair visit looks like.
 Before
 After
AfterElectrical Warning Signs You Can Measure
Most gate problems in West Hollywood are electrical before they’re mechanical. The motor, the transformer, the battery backup, the control board, the photo-eye, the receiver. When any of these components starts to fail, it leaves a measurable trace before it leaves a visible one.
The three electrical readings that matter most to a homeowner are voltage at the transformer, battery voltage (if your operator has a battery backup, which most modern systems do), and what the motor draws at start-up. You don’t need any of these readings to know something’s wrong. But having them changes the conversation from “it doesn’t work” to “the battery reads 11.2 volts under load,” which is the difference between a $40 battery replacement and a $400 board replacement.
What Slow Operation Looks Like on a Cycle Timer
Every gate operator has a cycle time. It’s the number of seconds from the moment the motor engages to the moment the gate reaches its open or closed limit. You can measure yours with the stopwatch on your phone. Stand at the gate, trigger it, and time it. Then do it again a week later. A swing gate that takes 14 seconds to open and has taken 14 seconds for months is normal. A swing gate that takes 18 seconds today and took 14 seconds in February is telling you something specific: increased mechanical load, a weakening capacitor, or a motor that’s working harder because a bearing is wearing.
In our experience, West Hollywood gates in the hillside areas near Laurel Canyon and the Bird Streets tend to show this symptom earlier than flat-lot gates in the Norma Triangle or the Design District. The grade puts more constant load on the operator, and the marine-layer moisture that hangs around the hills accelerates bearing corrosion. Document your cycle time now, while the gate is working, so you have a baseline. That’s the whole point: evidence, not vibes.
Transformer Voltage: The Silent Failure
Your gate operator runs on 24-volt DC power almost universally, even though it’s fed by a 120-volt AC line. The transformer converts the AC to the lower voltage the board and motor run on. Transformers fail slowly. The tell is a voltage reading that’s sagging under load: 24.5 volts at rest, dropping to 21 volts when the gate is in motion. That sag is the transformer telling you it’s losing its ability to hold voltage under demand. It will keep working until a board component overheats, and then you have two problems instead of one.
The High-Current Start: What That Hesitation Means
Remember the two-second hesitation from the top of this guide. Here’s what’s happening electrically. An electric motor draws its highest current at the instant it starts from a dead stop. That’s inrush current, and in a healthy gate operator it lasts less than half a second before settling into running current. When the mechanical load on the motor rises due to a failing bearing, a dry gear train, or a hinge that’s binding, the inrush period stretches out. The motor is struggling to overcome the added friction, and it’s drawing high current for longer than it was designed to. That’s the hesitation you can see with your eyes and measure with a simple amp clamp. Every second of extended inrush is heat. Every heat cycle shortens the motor’s life. We’ve replaced motors in West Hollywood that died at seven years old from exactly this pattern, while identical units serviced early ran past fifteen.
If you’re considering a full motor or opener replacement rather than a component-level fix, our Gate Motor & Opener in West Hollywood page explains what’s involved and what it costs.
Mechanical Warning Signs: What You Can See and Feel
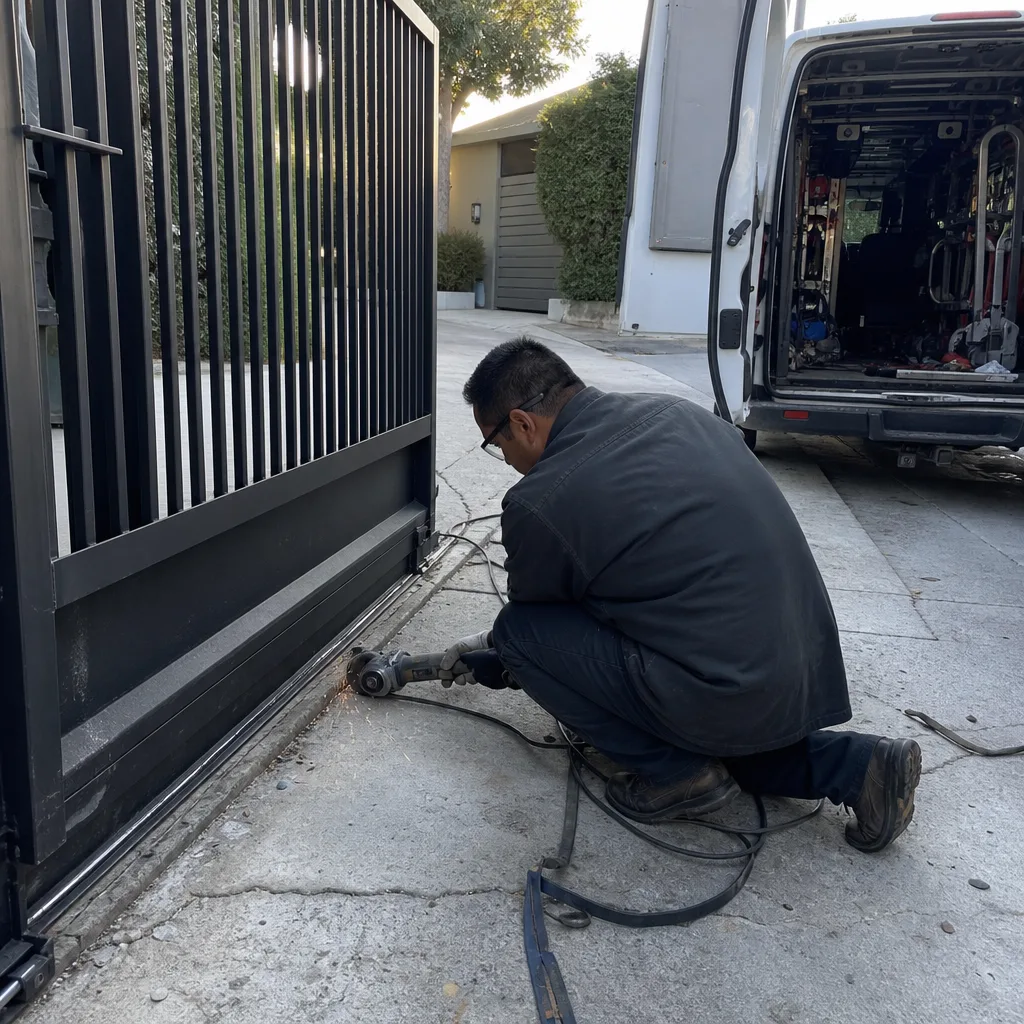
Mechanical wear announces itself physically before it announces itself audibly. The surfaces wear, the clearances open up, the grease gets pushed out, and then the noise starts. By the time a gate is grinding, you’re weeks past the point of a cheap fix.
Grinding Noise: Locate the Sound Before You Panic
“Grinding” is not one sound. It’s a family of sounds, and each one points to a different wear location.
- Grinding at the hinge end of a swing gate means the hinge bearing has run dry or the hinge has sagged enough that the gate leaf is dragging on its bracket. This is a $150-$300 fix if caught early. Left alone, the sag accelerates until the gate leaf drops far enough to bind against the post, and then you’re into a realignment plus possible weld repair.
- Grinding from the operator housing on a chain-drive or screw-drive operator usually means the gear train is running dry or a gear tooth is chipped. On a Viking or LiftMaster residential swing operator, this is typically a lubrication-and-inspection call first; if the gear is damaged, replacement is straightforward and far cheaper than a whole new operator.
- Grinding from under the gate on a slide gate means the track rollers or the guide wheels have worn flat. West Hollywood’s dry-season dust gets into roller bearings and acts like a lapping compound. Most slide gates have four to six rollers; replacing a full set runs roughly $250-$450, and a gate that’s been grinding on flat rollers for a month will also need the track inspected for scoring.
The actionable step: stand next to the gate and have someone trigger it. Close your eyes. Point to the sound. If you can point consistently, you’ve located the wear zone. If the sound seems to come from everywhere, it’s usually the operator, because the motor vibration is telegraphing through the gate frame.
Hinge Sag: The Measurement That Predicts a Dropped Gate
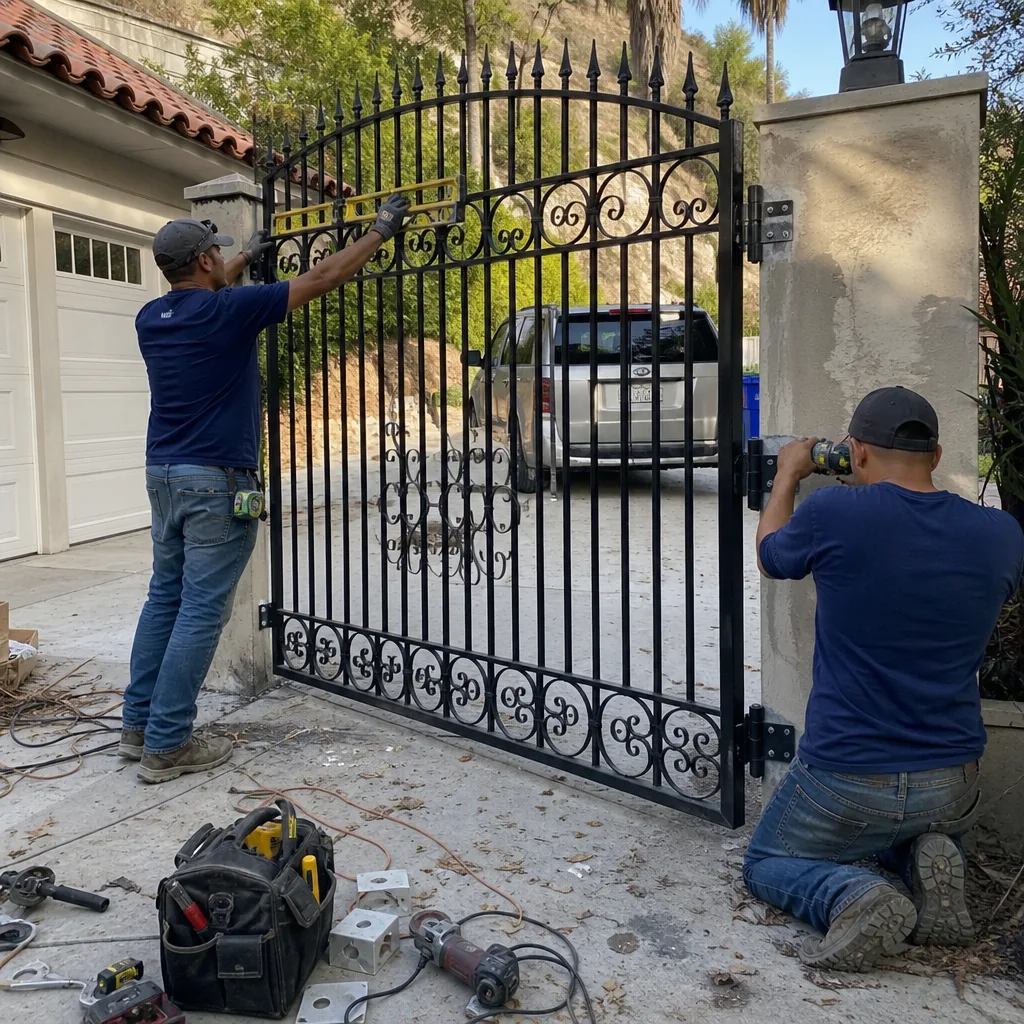
Swing gates hang on two to four hinges, and every hinge has a designed clearance. When the clearance opens up, the gate leaf drops. You can measure the sag with a carpenters level. Rest the level on the top rail of the gate. If the bubble runs off center by more than a quarter inch across the length of the gate, the hinge bearings are worn or the post has shifted.
On a 16-foot gate, a quarter inch of sag at the hinge end translates to over an inch of drop at the latch end. At an inch of drop, the latch stops engaging, the operator’s limit switch reads the gate as “closed” when it isn’t, and the gate starts cycling incorrectly. That’s the cascade. Catch the sag at the quarter-inch stage and you’re looking at hinge bearing replacement and a re-level, typically $200-$400. Let it go and you’re looking at a gate that won’t latch, won’t close, and eventually cracks a weld from the constant stress.
Track Wear on Slide Gates: Read the Shine Line
Slide gates ride on a steel track, and the track tells you everything. A healthy track has a consistent wear pattern across its full width: a uniform shine where the rollers run. When you see distinct grooves, especially grooves that favor one side of the track, the rollers are wearing asymmetrically, which means the gate frame is racking or the rollers were never aligned correctly. In West Hollywood properties with older iron slide gates, this is one of the most common pre-failure signs we document. The fix is roller replacement and track inspection, typically same-day work, not a multi-week project.
Obstacle-Detection Behavior as a Diagnostic Signal
Every modern gate operator has obstacle detection. It’s either a photo-eye (the infrared beam across the gate opening) or a current-sensing system in the motor (the operator reverses when the motor draws more current than it expects, indicating something is in the path). How your gate reverses tells you what’s failing.
The Photo-Eye: Misalignment Versus Failure
A photo-eye that’s misaligned by two inches will behave exactly like a photo-eye that’s failing: the gate starts to close, hesitates, and reverses without touching anything. The difference is that a misaligned photo-eye is a five-minute adjustment, and a failing photo-eye is a $60-$120 part replacement. You can distinguish them visually. Look at the photo-eye units on each side of the gate opening. Most have a small LED indicator: solid green (or red, depending on brand) when the beam is aligned and connected, blinking when it isn’t. If the LED blinks but nothing is blocking the beam, check for a bent bracket, a loose mounting screw, or vegetation that grew into the beam path. West Hollywood bougainvillea and ivy are notorious for this: a tendril grows three inches overnight and the “broken” gate turns out to be a plant.
Gates That Reverse Immediately Versus Gates That Strain
This is the diagnostic distinction most people miss. A gate that reverses immediately on obstacle detection, before it encounters any resistance, is almost always a photo-eye or safety-sensor issue. The safety system is telling the board there’s an obstruction, so the board reverses instantly. A gate that strains against resistance before reversing is the current-sensing system doing its job: the motor is drawing more current because it’s physically pushing against something, and the board reverses after the current threshold is exceeded.
If your gate reverses immediately every time, with nothing in the path, check the photo-eye. If your gate pushes against an obstruction and strains briefly before reversing, that’s the current sensing working as designed. If your gate pushes against an obstruction and does not reverse, that’s a failed current sensor, and it’s a safety issue that needs attention immediately. An operator that can’t detect an obstruction can injure a person or a pet and will damage the gate and motor. This falls into the “fix within 24 hours” urgency tier.
Remote and Receiver Warning Signs
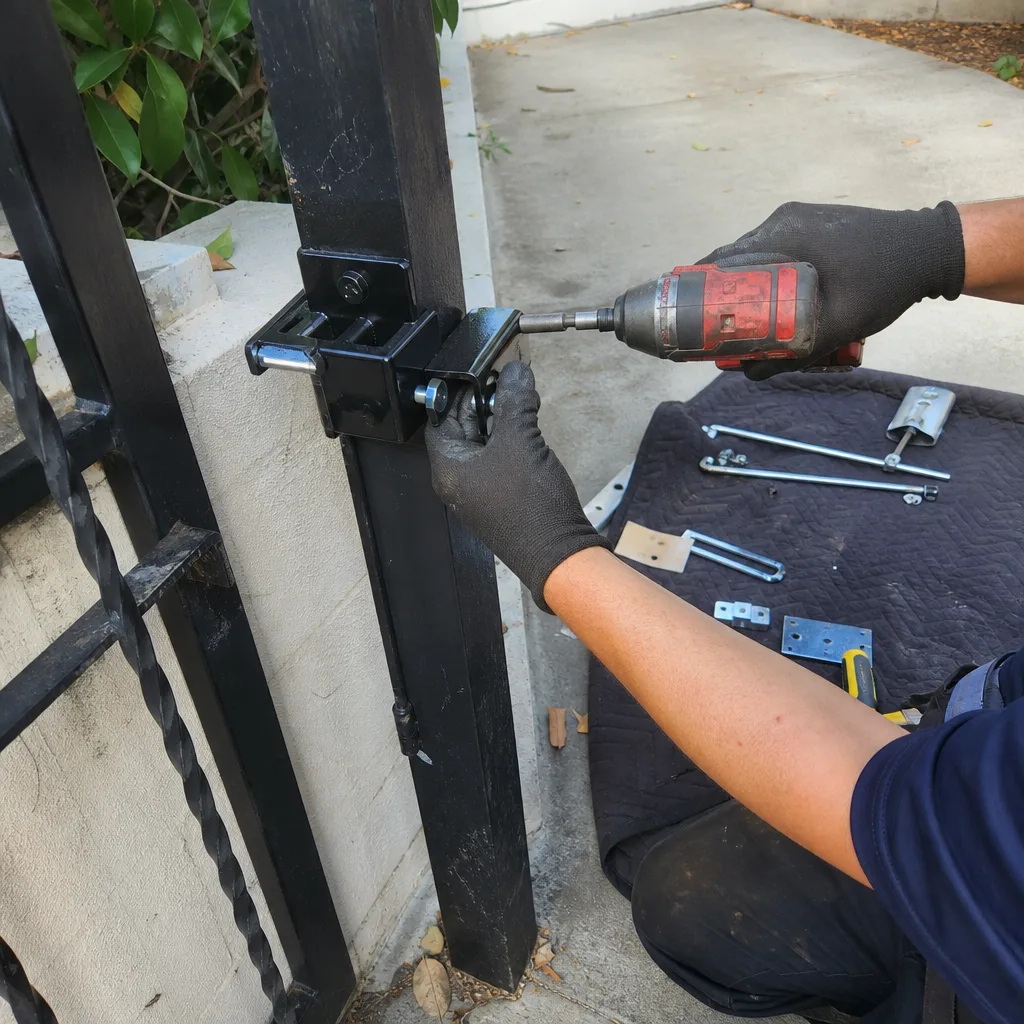
Intermittent remote failure is the most commonly misdiagnosed gate symptom in residential West Hollywood. The homeowner assumes the remote is broken, replaces the battery, maybe replaces the remote, and the problem persists. The remote is rarely the problem. The receiver or the power supply usually is.
Battery Voltage: The Difference Between Dead and Dying
A gate remote battery that’s dead reads below 8.5 volts on a 9-volt battery or below 2.8 volts on a 3-volt lithium cell. A battery that’s dying reads 9.1 volts on a 9-volt, which is technically within spec but is already causing reduced transmission range. Most West Hollywood homeowners replace the remote battery only when it’s completely dead, by which point the remote has been underperforming for weeks. If your remote works from 10 feet away but not from the curb, change the battery. That’s a $4 fix for what feels like a $400 problem.
When It’s the Receiver, Not the Remote
Here’s the test. If the gate opens from the wall button or the keypad but not from the remote, the problem is in the radio link: remote, receiver, or receiver antenna. If the gate opens intermittently from both the remote and the wall button, the problem is not the remote at all. It’s the operator, the board, or the power supply. The remote is just the trigger; the failure is downstream.
Range loss is another receiver flag. A healthy remote and receiver pair on a residential gate in West Hollywood’s flat neighborhoods should work from 50-80 feet. In the hills, with more terrain and more competing radio traffic, 30-50 feet is normal. If your range drops suddenly, and a new battery doesn’t fix it, the receiver antenna may have been damaged, the receiver module may be failing, or a new source of RF interference has appeared (a nearby security camera system, a new Wi-Fi mesh node, a neighbor’s upgraded garage door opener). Ghost Controls and DoorKing receivers are both serviceable as standalone components. You don’t replace the whole gate operator because the receiver is failing. You replace the receiver.
If the problem turns out to be the operator or motor itself, see our Gate Motor & Opener in West Hollywood page for what a replacement and installation covers.
Structural Warning Signs: Rust, Paint, and Weld Failure
Structural failure is the one that scares people, and it’s also the one that gives the most advance notice. Wrought iron and steel gates in West Hollywood fail at the welds first, almost always. The weld is the stressed junction, and it’s where rust starts, because the protective coating is thinnest there.
How to Read Rust Patterns: Cosmetic Versus Structural
Surface rust, the orange-brown discoloration that spreads across a flat panel, is cosmetic at first. It looks bad, but it’s not about to cause a failure. Structural rust is different. It appears at joints, at the weld between a picket and a rail, where a hinge plate meets the gate frame, at the base of the gate posts. Structural rust has a characteristic pattern: it’s deeper, darker, and it forms in a line or a crack, not a broad patch.
The actionable test: tap the rusted area with a screwdriver handle. If it rings, it’s solid. If it gives a dull thud or if flakes of rust fall out of a seam, the section has lost thickness. A second test: look for paint that’s bubbling in a straight line along a weld seam. That’s moisture working its way under the paint at the weld, and it means the weld is actively corroding beneath the surface. We’ve seen this pattern on gates in West Hollywood’s older courtyard buildings and on custom iron driveway gates throughout the Norma Triangle, where gates go through 30-40 wet-dry cycles a year from morning marine layer and afternoon sun. The cyclic moisture accelerates rust at the welds specifically.
Weld Failure: The Tell Before the Catastrophe
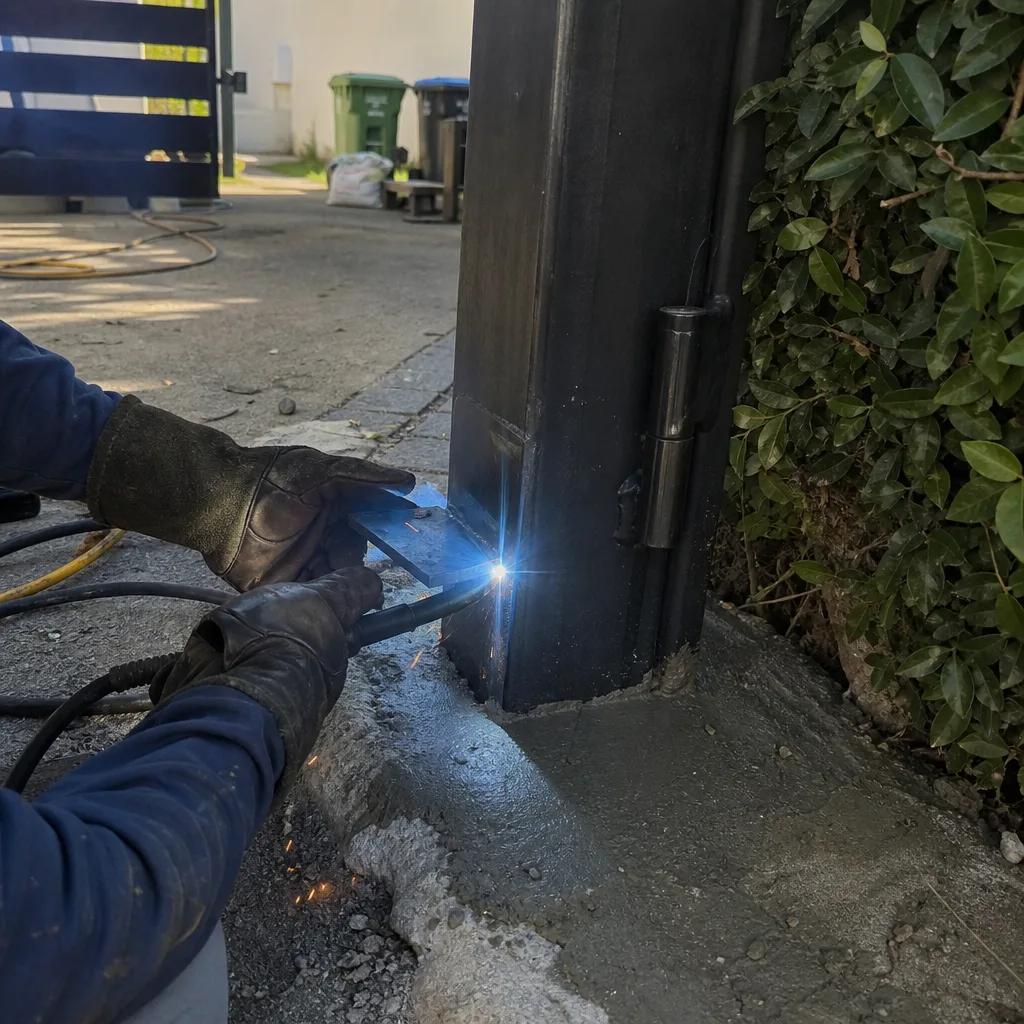
A weld that’s about to fail produces a visible crack line before it separates. The crack runs parallel to the weld bead, right at the edge where the weld meets the parent metal. Once you see that line, the weld is compromised. It may hold for months. It may fail the next time someone leans on the gate. The fix is grinding out the old weld and re-welding the joint, typically $150-$400 per joint depending on accessibility. That’s far cheaper than the repair after a weld fails completely and the gate leaf twists, which usually means realignment, multiple weld repairs, and often a new hinge assembly.
For homeowners whose gates need structural repair beyond what a simple weld can address, see our Gate Installation in West Hollywood page for when repair stops making sense and replacement becomes the honest recommendation.
Urgency Tiers: When to Fix, When to Schedule, When to Monitor
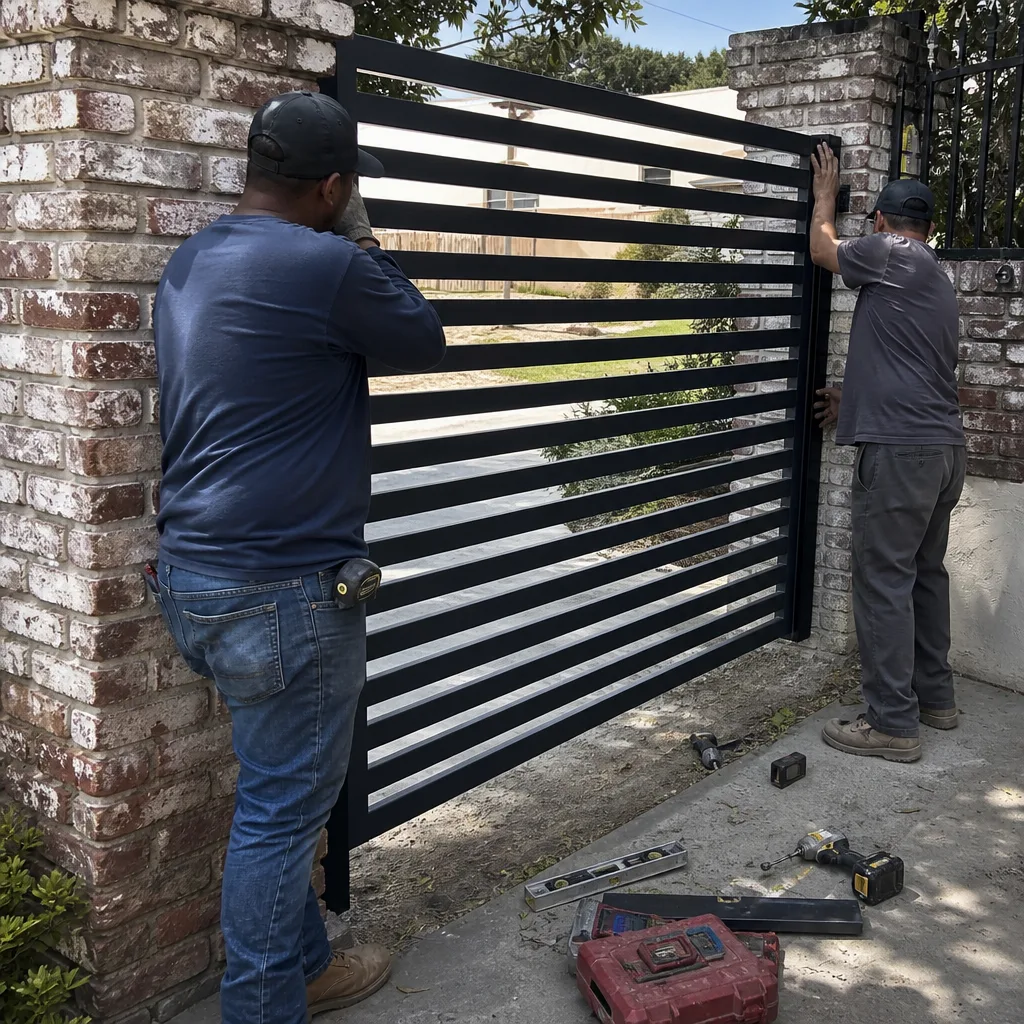
Not every warning sign calls for a same-day phone call. But some do. Here’s how we triage gates in West Hollywood, and how you should triage yours.
Tier 1: Fix Within 24 Hours
- Obstacle detection is not reversing the gate. A gate that pushes against resistance and keeps pushing is dangerous. This is a safety-system failure, not a convenience problem.
- The gate has come off its track or dropped off a hinge. A detached gate leaf is a crush hazard, and it’s only going to get worse.
- The operator is smoking, sparking, or smells like burning electronics. That’s a short, and it’s a fire risk.
- A weld has visibly cracked and the gate is still in daily use. The crack is a countdown. You don’t know how long the countdown is.
Tier 2: Schedule Within 30 Days
- Cycle time has increased by more than 15 percent from your documented baseline.
- Grinding noise is present but the gate is still moving normally.
- Hinge sag exceeds a quarter inch on the level.
- Remote range has dropped and a new battery didn’t fix it.
- Photo-eye misalignment is causing intermittent reversals.
These are problems that will get worse, but they’re not emergencies. Schedule them on your timeline. If they’re caught in this window, most are under $400 to resolve.
Tier 3: Monitor and Document
- Surface rust that’s not at a weld and not showing structural patterns.
- A gate that’s slightly slower in cold weather (normal: lubricant is thicker when cold).
- Remote performance that’s slightly reduced but stable.
- Minor paint bubbling on a flat panel (not along a weld seam).
These are things to photograph and document. Put a reminder in your phone for 30 days out and re-check. If anything has changed, it moves up a tier. The point of this guide is that “monitor and document” is not “ignore.” It’s the active, evidence-based kind of watching.
The $12 Multimeter Voltage Check Every Homeowner Can Do
You don’t need to be an electrician to gather useful data. A basic multimeter from any hardware store ($10-$20) gives you two readings that will save you a diagnostic fee and, more importantly, tell you whether you’re dealing with a power problem or a mechanical problem before you call anyone.
Safety first: this procedure involves opening the operator cover and working near line voltage. You will not be touching 120-volt AC wires. You will be touching low-voltage DC terminals only. If you’re not comfortable opening the operator cover, don’t. Call a professional. This is for the homeowner who wants documented evidence, not for someone who’s unsure.
- Open the operator cover. Most residential operators have two release screws or clips. The cover swings or lifts off.
- Set your multimeter to DC voltage, 20-volt range. The operator runs on 24-volt DC; the 20-volt range is close enough for a reading.
- Locate the battery. Most operators with battery backup have the battery mounted near the control board, usually labeled. Ghost Controls, DoorKing, and Elite all use similar layouts.
- Place the red probe on the positive battery terminal, black probe on negative. Read the voltage. A healthy 12-volt battery reads 12.6-12.8 volts at rest. Below 12.0, the battery is failing. Below 11.5, it’s dead and the operator has been running on the transformer alone, which is why the gate behaves erratically.
- Plug the operator back in (if it was unplugged) and read the battery voltage while the gate is in motion. If the voltage drops below 10.5 volts while the gate moves, the battery is failing under load and needs replacement, even if it reads fine at rest.
- Write down the reading and the date. This is your documentation. It’s what a technician would do, and it’s what turns “the gate is broken” into “the battery read 9.8 volts under load on Tuesday.”
If the battery and transformer both read healthy but the gate is still misbehaving, the problem is upstream: control board, limit switch, or a mechanical load issue. That’s the point where a diagnostic visit pays for itself, because the remaining possibilities require specific parts knowledge and test equipment.
Common Mistakes to Avoid
- Replacing the remote before checking the receiver. West Hollywood homeowners buy three or four replacement remotes over the life of a gate, and in many cases the original remote was fine. Test the wall button before spending money on a remote.
- Greasing a gate that’s grinding without finding the source of the noise. Lubrication will quiet a dry hinge temporarily, but if the grind is from a worn gear or a flat roller, grease just hides the symptom until the part fails completely. Diagnose first, lubricate second.
- Ignoring a photo-eye that blinks intermittently. An intermittent photo-eye is a safety system that’s working sometimes. A gate that’s supposed to stop for obstructions but sometimes doesn’t is a risk to your kids, your dog, and your car.
- Waiting until the gate stops working entirely. Every gate failure we’ve repaired in West Hollywood gave warning first. The homeowners who called at the warning stage paid, on average, less than half what the homeowners who called at the failure stage paid.
- Assuming rust is always structural. A rusty gate panel is an aesthetic issue. A rusty weld is a structural issue. Learn the difference before you pay for welding you don’t need or ignore welding you do need.
- Using WD-40 on gate hinges and bearings. WD-40 is a solvent, not a lubricant. It cleans, then it evaporates, and the hinge runs dry again, often with the solvent having washed away whatever lubricant was left. Use a white lithium grease or a silicone spray formulated for metal-on-metal contact.
- Propping a gate open that’s failed, then leaving it propped. A gate that’s propped open is a gate that lets the neighborhood know nobody’s home. If your gate fails, secure it closed and call for repair. An unsecured driveway in West Hollywood is an invitation, whether you’re home or not.
When to Call a Professional
Call a professional when you’ve identified a Tier 1 warning sign, when you’ve done the voltage check and the readings are inconclusive, or when you’ve been monitoring a Tier 2 symptom and it’s changed for the worse. You’re not failing by calling early. You’re making the repair cheaper. Vance Gate Repair West Hollywood offers free estimates in West Hollywood, and every estimate includes a written price before any work starts. Call (424) 321-7416 and a live person answers, any hour, any day. You’ll get a named technician, a documented photo record of what was found, and a repair that’s covered by the 365-Day Done Right Promise: if it’s not right, we make it right within a full year, no argument and no fee.
Frequently Asked Questions
Most West Hollywood gate repairs run between $150 and $900, with the median residential repair landing around $350. Hinge bearing replacement and re-leveling typically costs $200-$400. Photo-eye replacement runs $80-$150 installed. Receiver replacement is $120-$250. A full control board replacement on a modern operator can reach $500-$900, and motor replacement on a swing gate typically runs $450-$800 depending on brand and arm configuration. Every Vance Gate Repair West Hollywood job includes a written price before work starts, so the number you’re quoted is the number you pay. Call (424) 321-7416 for an exact quote, estimates are free.
Yes, most gate repairs in West Hollywood are same-day jobs. We dispatch technicians from within the area, and common repairs, hinge work, photo-eye replacement, receiver diagnostics, and limit switch adjustments, are typically completed in one visit. A live person answers the phone 24/7 at (424) 321-7416, and we’ll name the technician and give you the time window before they arrive.
A full gate installation includes the gate itself, the operator and motor, the safety photo-eyes, the mounting hardware and posts, the power run from your panel to the operator, and all programming for keypads and remotes. Every installation is quoted in writing before any work starts, and the quote includes the scope, the parts list, and the labor. For a complete walkthrough of the process and what to expect, see our Gate Installation in West Hollywood page.
We service nine major automation brands: LiftMaster, FAAC, BFT, Linear, Viking, Ghost Controls, DoorKing, Elite, and Mighty Mule. We work on whatever motor is already on your West Hollywood property. We don’t steer customers toward replacing an operator when the existing one can be repaired, and our technicians carry parts for all nine brands on the truck.
On a 12-volt battery backup, a reading of 12.6-12.8 volts with the gate at rest is healthy. Below 12.0 volts is failing. Below 11.5 volts is dead. The real test is under load: if the battery drops below 10.5 volts while the gate is in motion, it’s failing under load and needs replacement, even if the at-rest reading looks okay. Every Vance visit includes a documented record of these readings, so you’re not guessing and the next technician won’t have to re-diagnose the same problem.
Repair is the right call when the gate’s structure is sound and the problem is the operator, the hinges, the track, or the electrical components. Replacement is the right call when multiple welds are failing, the gate has sagged so badly that the frame is racked, or the cost of repairs approaches 60-70 percent of the installed cost of a new gate. We’ll show you the math in writing, with photos of what we found and a repair figure next to a replacement figure, and you decide. That’s the whole point of the Haven Standard. For the full breakdown of when repair stops making sense, see Vance Gate Repair West Hollywood home.
The Bottom Line
The gate symptom you’re hearing or seeing right now is not the beginning of the problem. It’s the middle. The problem started weeks ago, when a bearing ran dry or a battery dropped below 12 volts or a weld began to crack under the paint. What you’re noticing now is the point where evidence becomes visible. Measure it. Document it. Time the cycle. Read the voltage. Check the photo-eye LED. Check the rust pattern. If it’s Tier 1, call today. If it’s Tier 2, schedule this month. If it’s Tier 3, set a reminder and re-check. Every one of those choices is cheaper than the alternative. And when you do call, ask for a written price before the work starts. A company that won’t put the number in writing hasn’t told you the number.
Written by Adrian Vance, Owner at Vance Gate Repair West Hollywood, serving West Hollywood since 2014.